Updated: 27.08.24
Have you ever dreamed of creating your own cosmetic products at home? If so, you’re in the right place! At Formula Botanica, the world’s leading online formulation school, we teach thousands of students how to formulate their skincare, haircare, and makeup from home, without any prior knowledge or experience needed. But before you get started, you’ll need to set up your home formulation lab.
In today’s blog post, we’ll walk you through everything you need to create your home lab. While the idea of setting up a space for your artisan skincare or haircare creations might feel overwhelming at first, rest assured – we’ve got you covered. We’ve put together a must-have list of the top 10 lab essentials to help you embark on your formulation journey. Let’s get started!
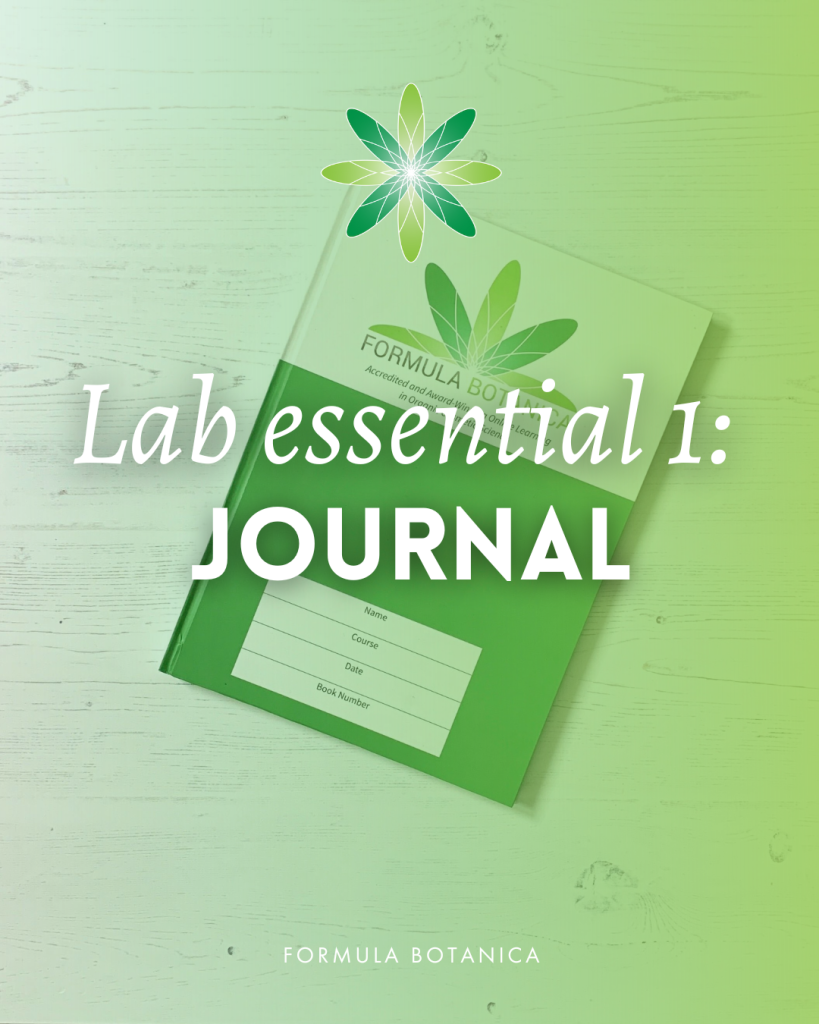
Lab essential 1: Your formulation journal
When setting up your home formulation lab, your top priority should be your lab journal, which is a physical or digital notebook where you document all your experiments. Personally, I prefer writing with a pen and paper, but I know many formulators like the convenience of a digital journal. The choice is entirely yours.
A lab journal serves as an official record of all your amazing skincare, haircare, or makeup creations. You’ll see with time that it’s very easy to forget what you’ve made, which is why it’s so important to keep a record of all your formulations. At Formula Botanica, our mantra is “If you didn’t write it down, it didn’t happen.” So get started on the habit of writing everything down.
Documenting everything also helps you understand why a formulation might have failed. Imagine you have a favourite balm that you make all the time. By consistently writing everything down, you can pinpoint the mistake in your notebook.
Here are some key details to record:
- Production date and product name
- Formula in percentages and grams
- Formulation method
- Notes on the finished product (colour, texture, scent, skin feel)
- Ideas on how to improve the formula
And that’s just the beginning! There’s so much more to discover in this blog post:
Lastly, your lab journal allows you to reflect on your formulation journey. Recently, I revisited my formulator’s journal from my early days as a student, and it was a blast! I found some embarrassing mistakes (like adding rosehip oil before emulsification in the heating phase), but I was also pleasantly surprised by some of the ideas I came up with.
Your lab notebook is a record of your journey as a formulator. Not only will it help you grow and evolve, but it will also provide valuable insights into how your ingredients interact and enhance your understanding of formulation methods.
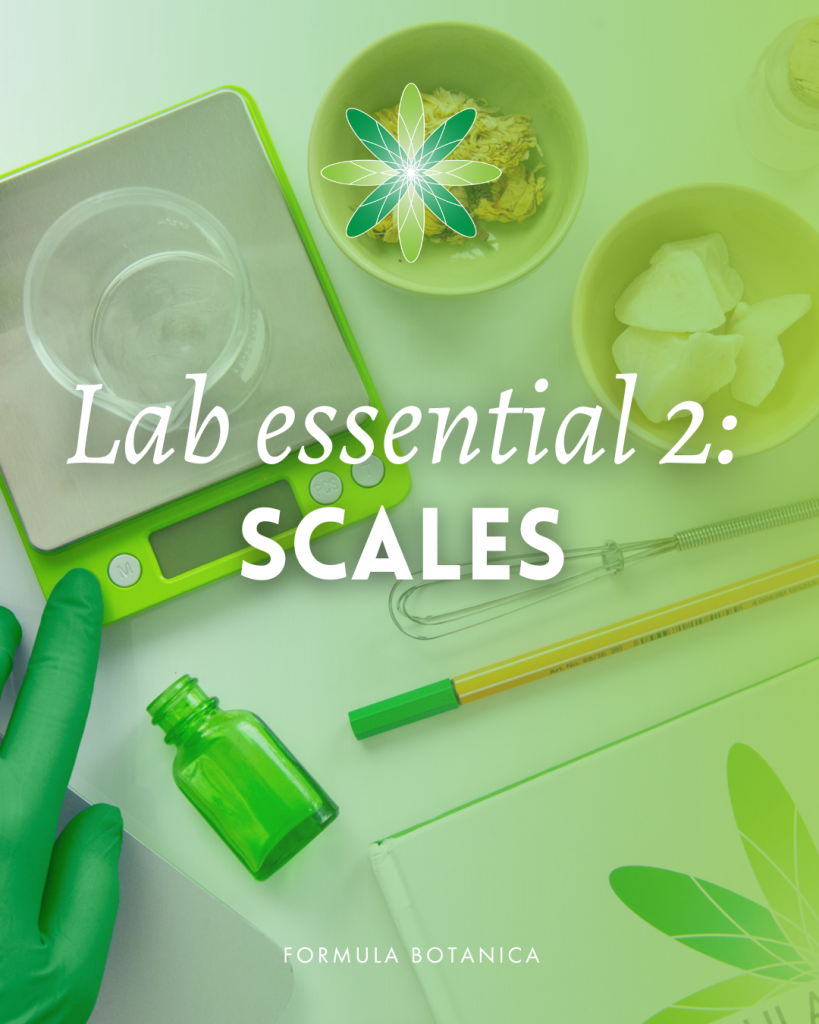
Lab essential 2: Scales
Next, you’ll need some good scales for your home formulation lab. You don’t have to spend a huge amount on your scales when you’re starting. Jewellery scales are a good starting point, and they’re very affordable.
There are 2 things you need to consider when purchasing a scale: precision and capacity. In other words, how accurate is it (precision), and how much is the maximum weight (capacity)?
At first, you won’t be making huge batches. Instead, you’ll work with every sample ingredient quantity, which is why we recommend you get a precision scale of 0.01g. Not only is this type of scale very cheap, but it’s also great to measure small quantities, especially essential oils. Find out more about scales below:
As for the capacity of your scale, it’s your call. The range goes from 200g up to 5kg. Keep in mind that the higher the capacity, combined with a 0.01g precision, the higher the cost will be. A 500g capacity is great to get you going.
Choosing the right scales is so important for your formulation success. It’s well known by now that in lots of DIY recipes, people are counting in drops instead of weighing. At Formula Botanica, we teach our students to become formulators instead of recipe followers, meaning they know exactly why they are using a certain ingredient at exactly that percentage instead of blindly following a recipe. Counting drops is always a no-go for a formulator. Find out why below:
Finally, to ensure your scale has a healthy and long life, keep it away from heat, vibration, sunlight and humidity. You should also measure your ingredients on a stable and flat counter for accurate readings.
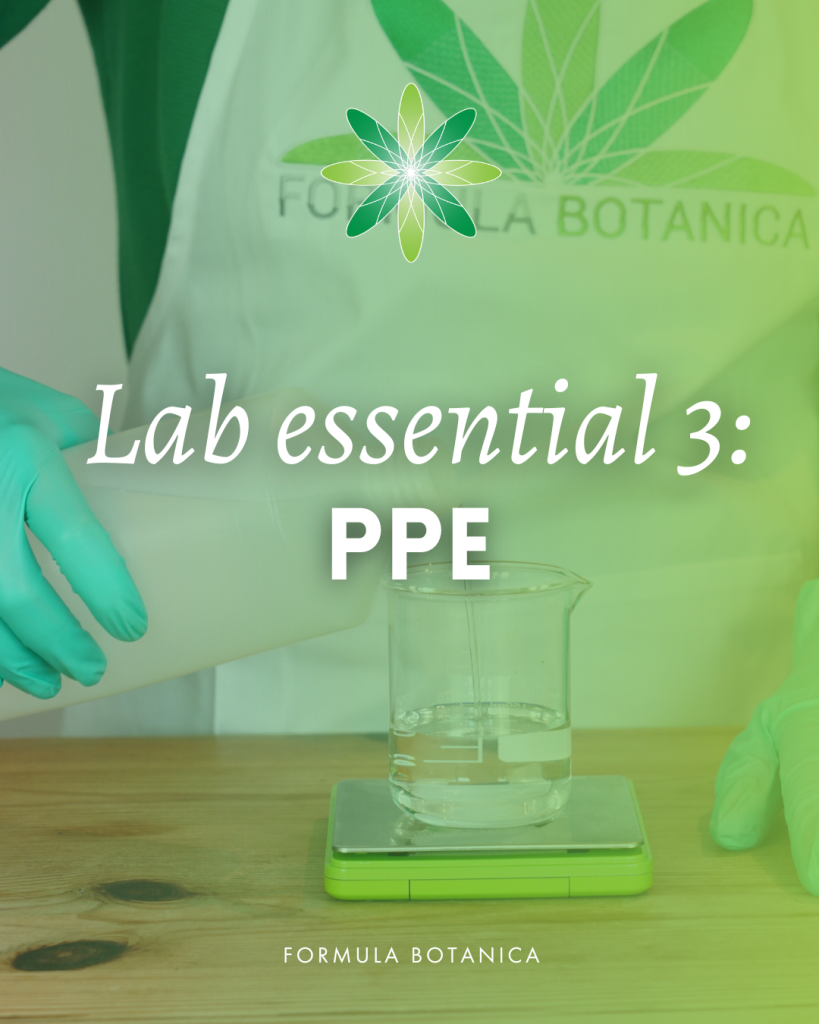
Lab essential 3: Personal protective equipment
Even with natural ingredients, there is still a certain amount of risk involved. Essential oils can seriously harm your eyes, molten wax can burn your skin, and fine powders such as charcoal can irritate your airways when you inhale them. But please don’t get alarmed: accidents are very rare, and can easily be prevented with Personal Protective Equipment, also known as PPE. This is a must in your home formulation lab.
PPE keeps you and your formulations safe. Here are some PPE essentials you can easily find anywhere:
- Disposable gloves: Gloves protect your hands from spillage and irritation, and keep your products safe from microbial contamination. They should be worn at all times and discarded after use. Gloves are available in all kinds of materials, from vinyl to latex to nitrile- all very affordable and allowed in a natural skincare lab. If you are hypersensitive, you can wear cotton gloves underneath to protect your hands.
- Formulation apron: You don’t need to wear a lab coat to formulate. All you need is a knee-length apron which you can wear over your clothes. An apron will protect your clothes and body from splashes and your products from contamination. I personally adore my Formula Botanica apron, it’s comfy and it makes me feel a part of this wonderful family and supporting community.
- Goggles: While not essential, goggles are great to protect your eyes when working with irritating substances such as essential oils or preservatives. Also, it prevents eyelashes from falling into your products!
- Face masks: Face masks protect you and your formulations when you’re working with fine powders. After all, you don’t want to inhale ingredient particles. Better be safe than sorry.
- Ponytail + hairnet: As a rule of thumb, keep your hair out of the way when formulating. Nobody wants a high-performance product with a stray hair in it. Yikes!
- Closed shoes: Last but not least, shoes protect your feet from stuff dropping on them and prevent contamination since you’ll only wear them in your lab.
Lab essential 4: Glassware
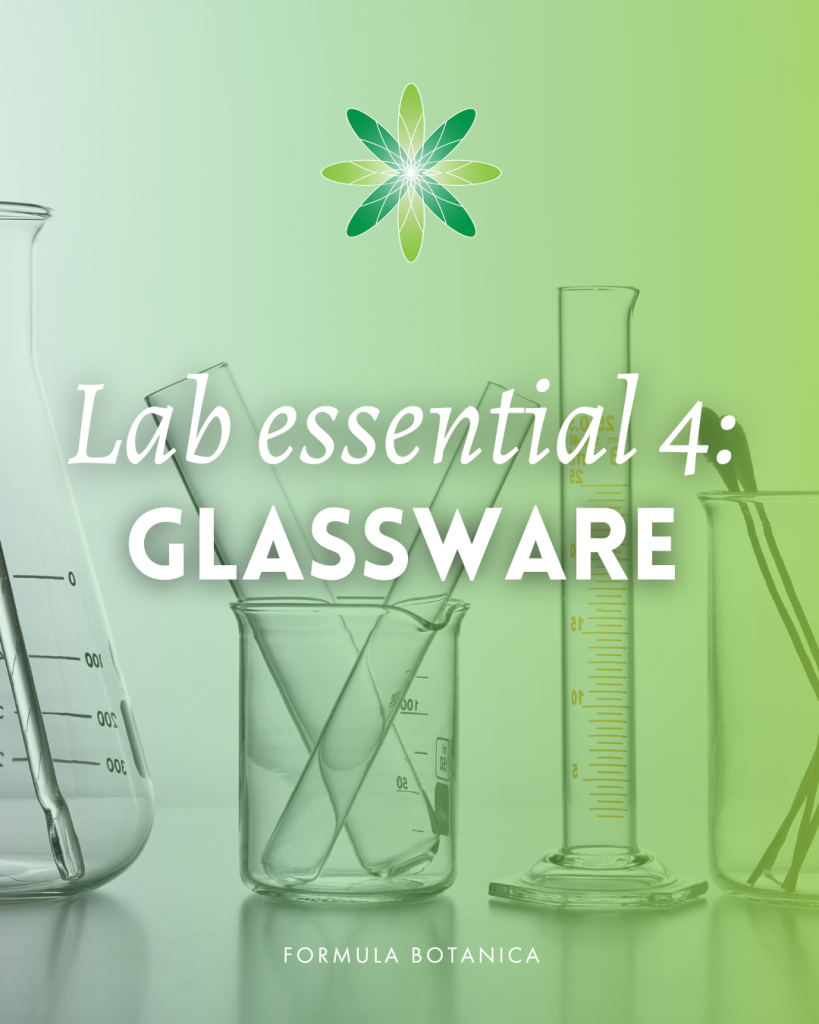
At Formula Botanica, we love our beakers! They come in all sizes and shapes and are a must when setting up your home formulation lab.
We always recommend our students get a hold of heat-resistant glass beakers to avoid any painful accidents and breakages. After all, you’ll be working with temperatures up to 80°C when making creams, lotions or balms. So save yourself some heartache and invest in some good quality beakers.
When deciding on which size beaker to order, consider which sizes you’ll be using most depending on your batch sizes and usage. Usually, beaker sizes range from 5ml up to 600ml and above. You can often purchase beakers in sets, meaning you’ll have several sizes handy. I personally think it’s the best way to get started.
Most beakers also have a handy spout (or beak) so pouring becomes easier and less messy. Think about the ingredients you’ll be working with like oils, butters, waxes, preservatives, essential oils and botanical extracts.
Natural formulation 101: beginner’s guide to skincare ingredients
Smaller beakers are better for measuring smaller quantities, while larger beakers can measure larger quantities and contain more ingredients.
Lab essential 5: Water bath/bain-marie
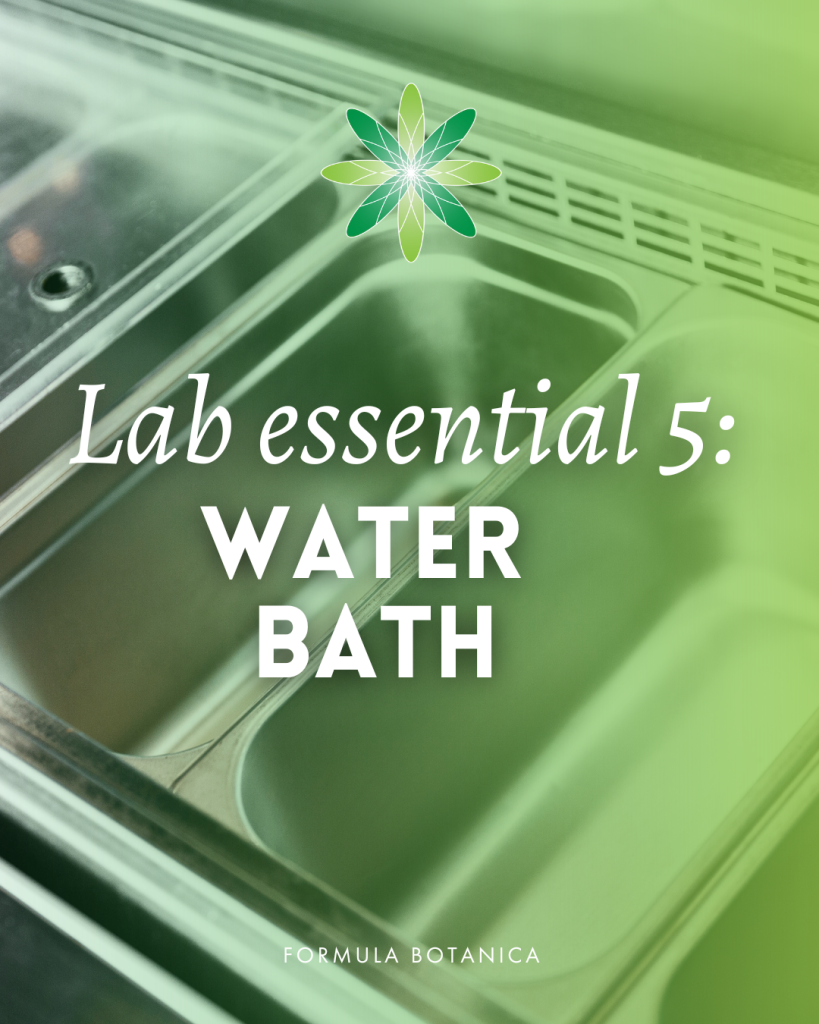
A lot of formulations require heating. At Formula Botanica, we teach our students how to make hot-processed formulations, and we always say to not heat ingredients directly over a flame or hot plate. This can damage precious botanical ingredients, which is why we teach our students to gently heat them over a water bath. Find out more about heat-sensitive ingredients below:
The chemist’s guide to checking plant oils for heat sensitivity
It’s very easy to set up a water bath. The most well-known method is the ‘bain-marie’, where you put a heatproof bowl on top of a pan of simmering water. Alternatively, you can purchase a double-boiler, a one-pot piece of cookery equipment that is based on the bain-marie principle.
You can also use a hot plate and add a pan of water and a thermometer so you can control the temperature of your water bath. You then place your beaker(s) in this self-created water bath to gently heat/melt your ingredients.
You can also purchase a professional water bath with a thermostat, which can be very handy but might be a bit too expensive at this stage of your formulation journey, and not yet necessary.
Lab essential 6: pH strips/pH meter
Once you move further through your studies at Formula Botanica, you will likely fall completely head over heels in love with water-based products such as micellar waters, emulsions, foams, shampoos, and toners. When this happens, you will have to work with preservatives and control the pH of your formulations.
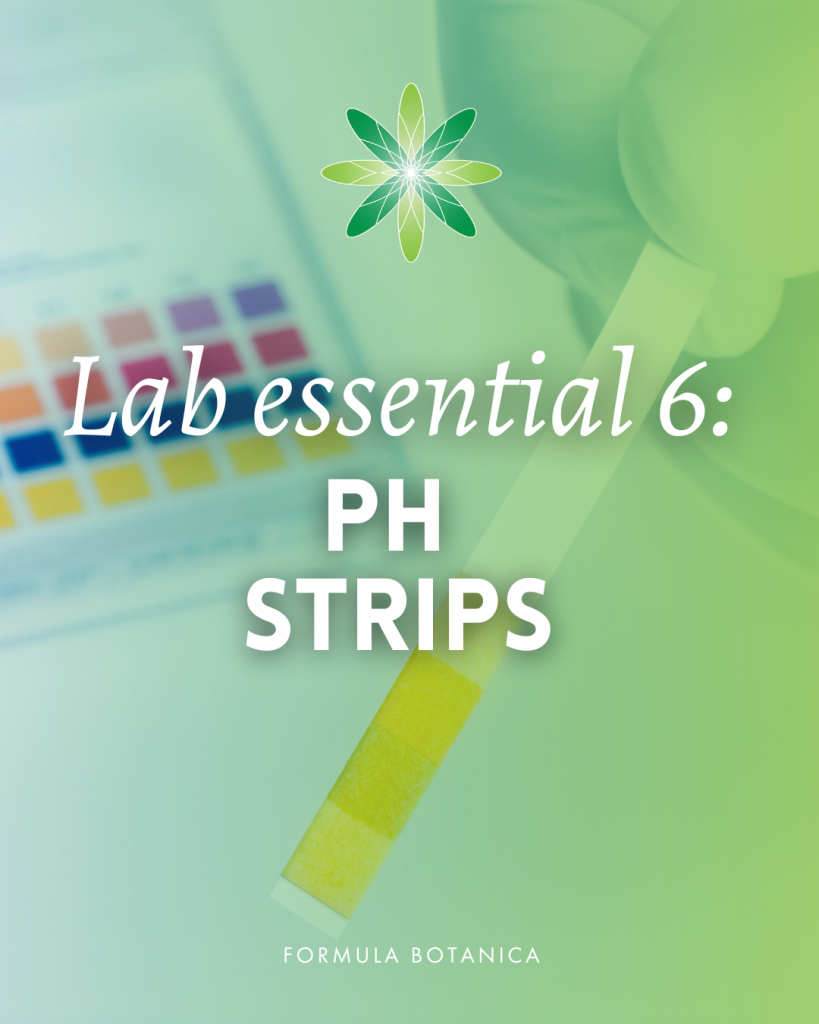
When making water-based products, you always have to add and preservative and measure the final pH. This keeps your formulations safe, stable, and effective. It is very easy and affordable to measure the pH of your products. All you need is some good quality pH strips, which usually have a range between 4 and 10 and an accuracy of 0.5. You can then adjust the pH of the product if needed. Once you’re more advanced, you can invest in a pH meter.
Measuring the pH of a product is essential to keep your product stable. Almost all natural preservatives are pH sensitive, which means that you need to adjust your formulation’s pH so that it is not only in sync with the pH of your skin (between 4.5 and 5.5) but also so that it falls within the working range of your preservative (most often between 5 and 5.5).
In other words: the efficacy of natural preservatives is extremely pH dependent. For some preservatives, even a slight difference of 0.5 in pH can make or break your product, aka cause stability or instability. Find more about why you should check your formulation’s pH:
What can go wrong if you don’t control your formulation’s pH?
We realise this is a lot of information right now, so please don’t worry if you feel a bit overwhelmed at first. pH measurement is very easy and we do not doubt that you’ll soon be an expert on the topic. You can find out more about natural preservation and pH tracking in our Certificate in Natural Cosmetic Preservation and our Certificate in Cosmetic Stability Testing.
Lab essential 7: Stirring utensils
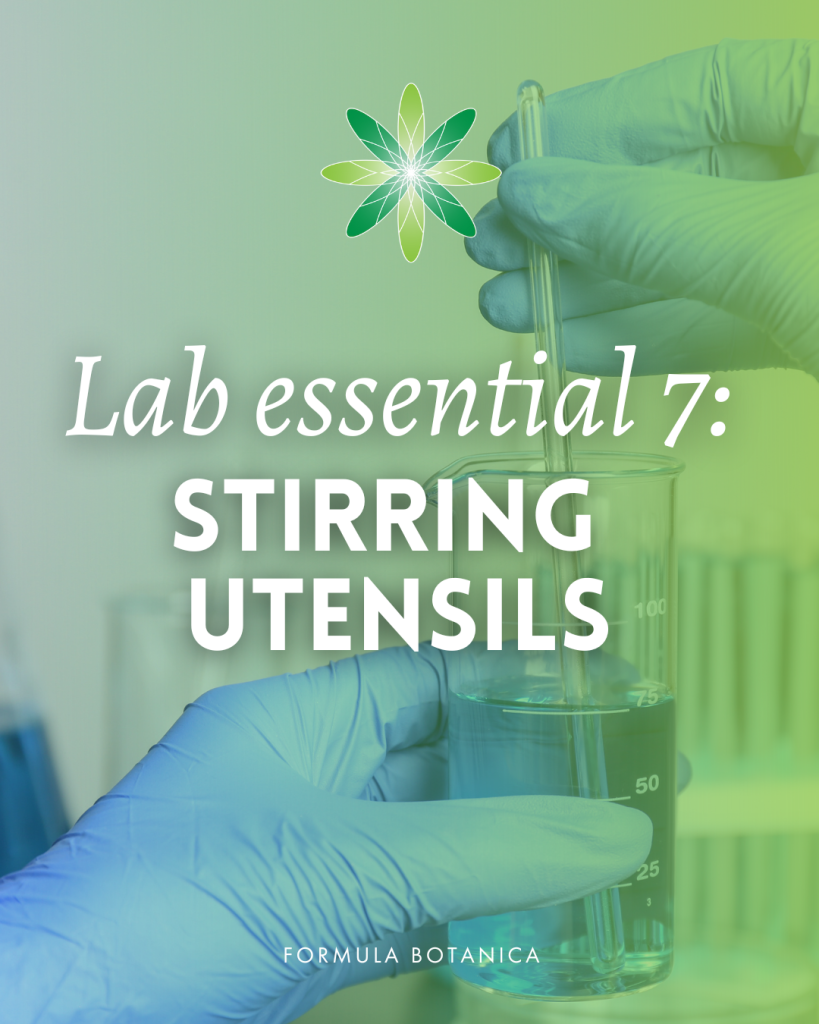
Can you think of a product that doesn’t need stirring? I sure can’t. All cosmetic formulations require some form of stirring or scooping, making stirring utensils essential in your home formulation lab.
In our course videos, we frequently use glass rods of various shapes and sizes to agitate formulations adequately, ensuring a perfect final product. These rods are affordable, convenient, and can be stored in a stylish beaker!
Other useful stirring utensils include:
- Spatulas: Glass, silicone, or stainless steel (stainless steel is more expensive but nearly unbreakable)
- Whisks: Handheld or electric mini whisks
- Spoons: Glass or stainless steel
Lab essential 8: Sanitising tools
Once you start formulating products, you’ll undoubtedly want to share your creations with friends and family. While you can’t control how they’ll handle your finished products, you can ensure they leave your home formulation lab in perfect condition by following Good Manufacturing Practice (GMP).
Don’t worry, GMP is straightforward and mostly common sense. Essentially, you need to keep your home lab and equipment clean and disinfected to prevent contamination of your surfaces, equipment, ingredients, packaging, and final product.
Contrary to popular belief, you don’t need to work in sterile conditions when formulating cosmetic products. You want your products to be resilient against some contamination, and you certainly won’t be formulated in a hospital room! As an informed formulator, your goal is to sanitise and disinfect your lab space effectively. Here are three basic steps to clean and prep your home lab:
- Follow hygiene practices: Regular hand washing with a plain bar or liquid soap should be a routine practice in your skincare lab.
- Wash your equipment: Wash your beakers and other glassware with hot, soapy water.
- Clean your lab space & work surfaces: Clean the floor and wipe down counters with dishwashing soap. Use boiling water whenever possible.
The next stage is sanitising, which involves destroying or irreversibly inactivating bacteria and fungi (though not their spores, so it’s not entirely germ-free). To sanitise your lab space, simply spray your work surface and equipment with alcohol and let it air dry.
We cover the distinctions between sanitisation, disinfection, and sterilisation in greater detail in our Certificate in Natural Cosmetic Preservation.
We recommend using 70% isopropyl alcohol, which is widely available, but you can also use ethanol or vodka. Alternatively, you can steam your instruments by boiling them for 3 minutes, though you shouldn’t do this with plastic and other non-heat-resistant materials.
Lab essential 9: Containers
Now that you’ve created a stunning formulation, it deserves to be housed in a beautiful container, don’t you think?
This stage is pure bliss and highly addictive! Bottles come in all shapes and sizes: round, square, tubular, oval. Choose from glass, plastic, HDPE, or PET. Select closures like atomizer spray pumps, lotion pumps, flip-top caps, disc-top screw caps, airless pumps, or foamers. They come in white, clear, black, and every colour of the rainbow.
Jars are equally delightful! From tiny, cute jars that make you go “awww” to big, chunky pots and everything in between. Lip balm tubes offer a variety of colours and sizes, adding a personal touch to your creations.
And then there are moulds! Oh, how I love moulds! It’s one of my secret guilty pleasures. Silicone moulds (the ones for chocolate making are perfect!), sturdy plastic moulds—they’re all fantastic. Among my favourite things to make and use are butter scrubs and body melts, and silicone moulds are just perfect for this. If you’re new to this, check out these fun solid beauty bars you can make at home:
And of course, store all these lovely containers in separate closed cartons, drawers, or bags to protect them from dust and contamination.
Lab essential 10: A sense of humour
You might be surprised to see this as number 10 on the list of essentials for your home formulation lab, but I promise you, it will happen:
- A bottle of a very fragrant ingredient (neem perhaps?) that drops onto the ground making your home formulation lab smell/stink for aaaages.
- Using a non-heat-resistant glass beaker in a hot water bath ….. pop goes the bottom!
- Your beaker that is cooling down in an ice water bath, which you’ve been stirring to a trace for quite a while with lots of care, suddenly decides to tip over in the water bath, hence completely ruining your batch and precious ingredients.
- While whipping a butter you, out of the blue, lose control over the beaker, causing more than half of the butter to get smeared all around your kitchen, floor, cabinets, fridge, yourself … everywhere, except where it should be.
- Dropping a new bottle of yucca at exactly the wrong spot of the bottle causes it to break, so your floor is all covered with splinters of plastic and bubbles, bubbles, bubbles.
- Accidently bump at the wrong angle against the cup where you keep all your 15 glass spatulas, causing them ALL to drop onto the floor into a million pieces … except the one you are holding in your hand.
- Using cocoa butter pellets instead of rice bran wax pellets (because the bags they are stored in look soooo much the same), and wondering why your finished product is so soft even though you have used 4% of this “wax”.
- Carefully adding an essential oil drop by drop, measuring it out on the scale, and suddenly the dropper cap decides to give up and fall off, causing more than half of the bottle to end up in the finished product. Dermal limits going through the roof!
Believe me, I have many more of these stories to tell! I can be clumsy like that.
Chances are likely you won’t do all of this, but sometimes bad luck and heavy-handedness just happen. And of course, at that exact moment there will be some swearing involved, or shouting “noooooooooo” really loud (shockingly, that doesn’t help), but at the end of the day: it happens to all of us, and even the best of us, at one point.
It’s not the end of the world, so pull your act together, gain some perspective and have a good laugh about it instead (maybe the day after it happened or so) and move on to the next attempt!
Final thoughts
Now that you know how to set up your home formulation lab, there are many other things to consider, some of which will be specific to you. Examples include:
- Ingredients – Ingredients are obviously a must when formulating, but we cover that in our other posts.
- Space – The more you formulate, the more you’ll need space to organise your ever-growing stash of ingredients, equipment, and containers, and store your samples and notebooks.
- Dedication – You’ll need to put a lot of work into research and experimenting. But don’t worry: we’re here to support you every step of the way.
- Time – Be patient with yourself. After all, you’re learning a new skill. Give yourself the chance to learn to walk first before starting to run. This is the only way to get a grip on everything, to put down a solid foundation which you can always refer to, and which you can surely but steadily build on. Baby steps and all that.
- Good grace – Go back to the ‘keep it silly simple’ (KISS) principle every time you start to work with a new ingredient.
- Perseverance – Don’t give up when Murphy’s Law is trying to catch you.
- Imagination – Walt Disney once said: “Disneyland will never be completed. It will continue to grow as long as there is imagination left in the world.” This can be about you too. Because “Laughter is timeless, imagination has no age, and dreams are forever.”
- Out-of-the-box thinking – After mastering the basics, your foundation will be strong enough to think outside the box and get innovative! We can’t wait for you to reach this stage.
- A smile and a warm heart – I believe that a product made with love, hence a smile on your face and a fuzzy happy heart can truly make a difference. Did you know that in sales they teach you to smile when you pick up the phone? The person at the other end will unwittingly ‘hear’ this, making communication much more friendly and pleasant. Even chefs know that they need to put that extra bit of love and care into their dishes as a secret ingredient.
Bonus resources
I’ve compiled a list of free resources on how to set up your home formulation lab, just for you:
Beginner’s guide to setting up a formulation guide
Top 6 lab tools every new formulator needs
Cosmetic formulation kit: 12 tools to get you started
FREE TRAINING
Learn how to become an
Organic Skincare FormulatorFREE TRAINING
How to become an
Organic Skincare EntrepreneurFREE TRAINING
How to become an
Organic Skincare Entrepreneur
Leave us a comment

Jilly Schechter is a Tutor at Formula Botanica, where she helps our students to become better organic cosmetic formulators. Jilly lives in Belgium and loves writing tutorials on how to make skincare and haircare.

