Picture this: you’re making a lovely gel cleanser. Everything’s going smoothly: you’ve prepped your formula, cleaned and sanitised your workspace and tools, and weighed every single ingredient.
But as you’re adding your glycerine and gum mix to your water phase, your gel starts to clump. And instead of a smooth gel texture, you’re left with frustrating little lumps. What do you do?
Following up on our blog post last month on how to avoid soaping in your emulsions, we’re back with another practical guide – this time for natural skincare and haircare formulators who want to banish gel clumping in their formulations for good.
Whether you’re enrolled in our award-winning courses or simply exploring natural formulation from your home lab, this post is for you.
Why do gels clump?
Before we explore potential solutions, let’s take a moment to examine what clumping is and its root cause.
Clumping is when powders or thickeners form lumps instead of dispersing evenly in distilled water, a hydrosol, or a glycerite.
This typically can happen when these powders or gums are added directly to the aqueous solution without being properly dispersed first.
Once clumps form, they can be difficult to fully dissolve, even with specialised equipment. That’s why prevention is key.
Want to learn more about gums? Then check out this post:
The science behind clumping
Clumping is often a result of improper hydration. When powdered ingredients – like gums or active powders – are added directly to water or a wet mixture, the outer layer hydrates almost instantly and begins to swell. This forms a gel-like barrier that prevents the inner particles from absorbing water.
Depending on the thickener or powder you use, you’ll also get varying rheological properties. Some will have a smooth feel, others feel slick, sticky or creamy.
In some clumps, you can actually see the internal particles trapped inside the gel’s outer layer. While certain clumps can be blended out, some can’t. For example, hyaluronic acid will hydrate fully if left in the liquid phase long enough, while others won’t.
Want to learn more about hyaluronic acid? Then check out this post:
Hydration revolution: The formulator’s guide to hyaluronic acid
Triboelectricity
Some powders also clump due to static electricity, not because of improper hydration.
You often see this when powders clump and stick to the inside of containers or plastic bags (like at the bottom of a ground coffee container). Usually, a shake will disrupt these clumps, which shows that the adhesion is not physical or chemical but electrostatic.
Don’t worry if this sounds a bit technical – you don’t need to memorise the science behind clumping to create beautiful gels. We’re simply sharing this to help you understand why clumping happens, but you absolutely don’t need all the details to make smooth gel formulations!
5 simple ways to prevent clumping
Below are 5 simple, tried ways to prevent clumping in your natural gel formulations.
Always make sure to research the specific powder you’re using, as suppliers often provide valuable guidance on the best way to disperse and hydrate their powder. They can also alert you if it’s particularly troublesome.
1. Make a slurry with glycerine (or another humectant)
Making a slurry is one of the best ways to prevent clumping in gels, and it’s a technique we teach in our Diploma in Organic Skincare Formulation.
When making a gel, start by blending your thickener (gum) with a humectant like glycerine or propanediol before adding it to the water phase. This blend is called a slurry. Want to learn more about humectants? Then check out this post:
The reason why it’s important to pre-mix your gum with a humectant is that gums need proper dispersion. If you add a gum directly to water, it often causes clumps to form, which are then difficult to break up.
Glycerine, for example, acts as a wetting agent when added to powders such as xanthan gum. It reduces the surface tension between xanthan and water, making it easier to disperse xanthan gum in your aqueous phase.
To create a slurry, pour your chosen humectant into a beaker or watch glass, then add the gum while stirring until fully dispersed and lump-free. The slurry should flow easily when poured. Add it slowly to your water phase with continuous stirring. If the slurry is too thick, it can still clump, so check your gum-to-humectant ratio.
Different gums vary in quality, but making a slurry and letting it rest usually results in a smooth, lump-free mix.
Pro tip: Use glycerine or another humectant instead of a hydrosol or glycerite, to disperse your powders or thickeners. Hydrosols and glycerites contain water, which can cause the gum to hydrate too quickly and lead to clumps.
2. Give the gel time to hydrate
This step is often overlooked, but it can make a huge difference to the final texture of your gel. After you’ve created your slurry, stir it well using a silicone spatula or glass rod, then let it sit for a few minutes or hours. This resting period allows the gum or powder to ‘hydrate’.
For certain powders, like high molecular weight hyaluronic acid (HMW HA), you’ll need more time. I like to sprinkle HMW HA directly into the water phase and leave it to hydrate overnight. The next day, I gently stir it with a spatula. If there are any clumps, I just keep stirring. Patience is key here!
Low molecular weight (LMW) hyaluronic acid tends to hydrate faster, but I still give it a bit of time before mixing to get the smoothest possible texture.
Once hydrated, stir again gently, and your gel will smooth out – no extra lab tools required.
Want to learn more about hyaluronic acid? Then take a look at our Hyaluronic Acid Mini Lab, available inside our exclusive membership platform, the Lab at Formula Botanica.
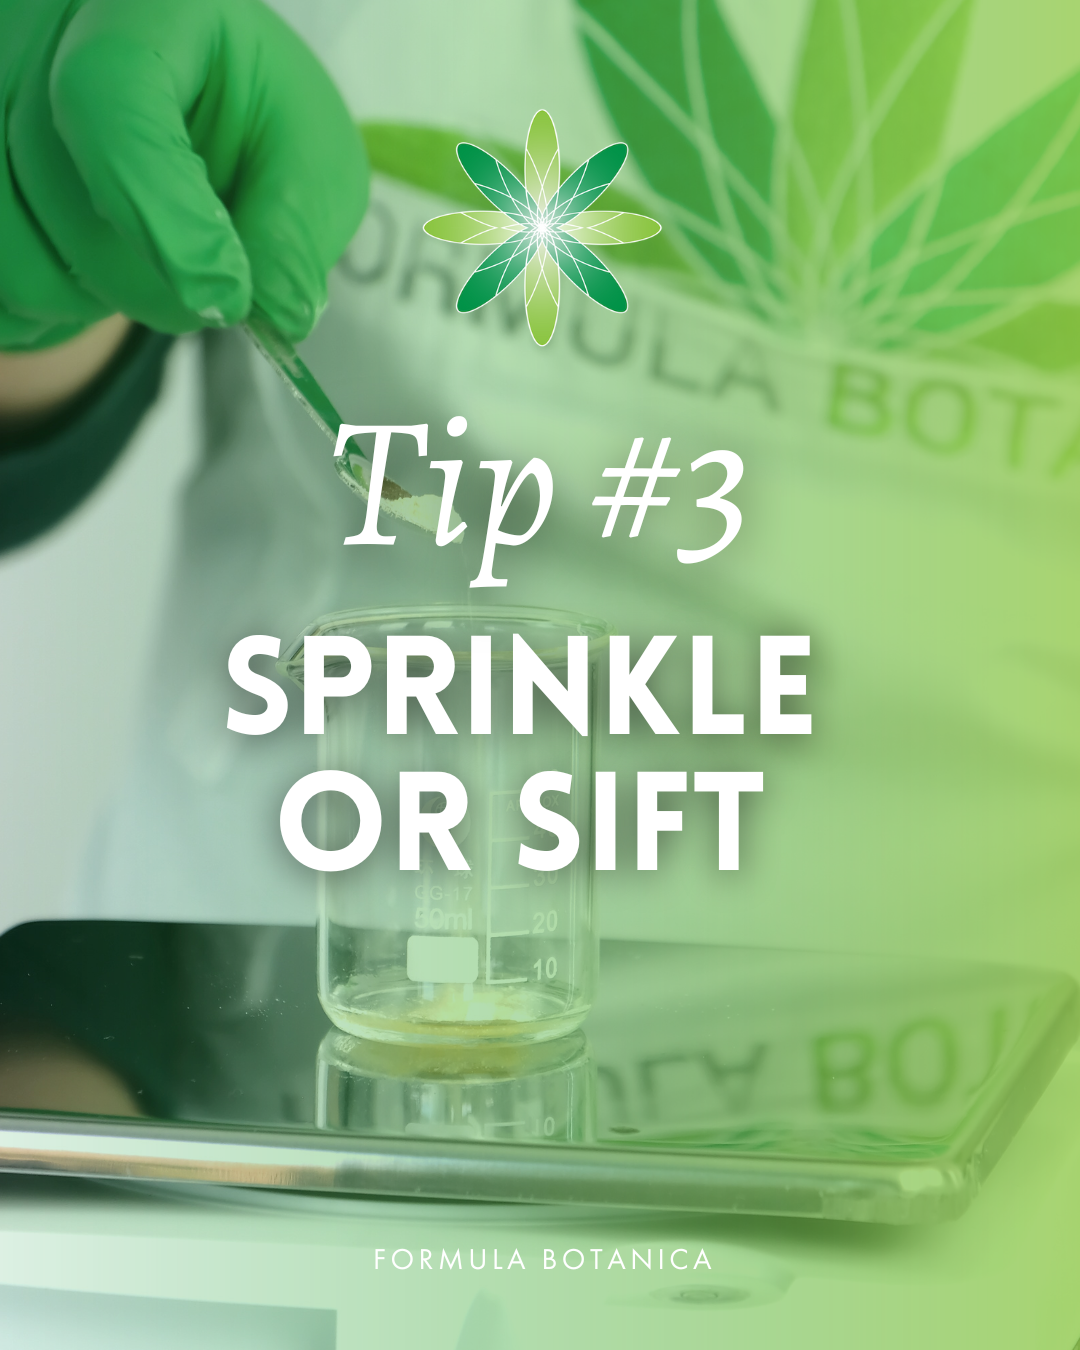
3. Sprinkle or sift – never dump
If you’re skipping the slurry and adding your thickener or powder straight into the water phase, how you add it is key.
Never dump it all in at once – that’s the fastest way to end up with clumps that are difficult (if not impossible) to fix later. Instead, do this:
- Stir your water phase to create a gentle vortex
- Sprinkle the gum or powder across the surface in a light, even layer
- Stir continuously as you go to encourage even dispersion
Pro tip: Use a fine mesh sieve or strainer to help break up your extract or gums before it hits the water.
4. Gently warm your water phase
Certain powders – like allantoin, panthenol, and others – dissolve much more easily when the water phase is slightly warm. Heating can speed up dispersion and help prevent clumps from forming in the first place.
If you’re still seeing clumps after sifting or sprinkling carefully, try gently warming your water phase to around 40–50°C before adding your gum or powder. This can encourage better hydration, especially for ingredients that tend to sit stubbornly on the surface.
Just make sure to stir continuously as you add and monitor the temperature. Too much heat can actually make clumping worse for some gums (like xanthan gum).
This method can be really helpful, but it does take a bit of control, especially if you don’t own a magnetic stirrer or overhead mixer (which you don’t need when you’re first creating gels). So go slowly, stir gently, and keep an eye on your texture as it develops.
5. Use the right tools for the job
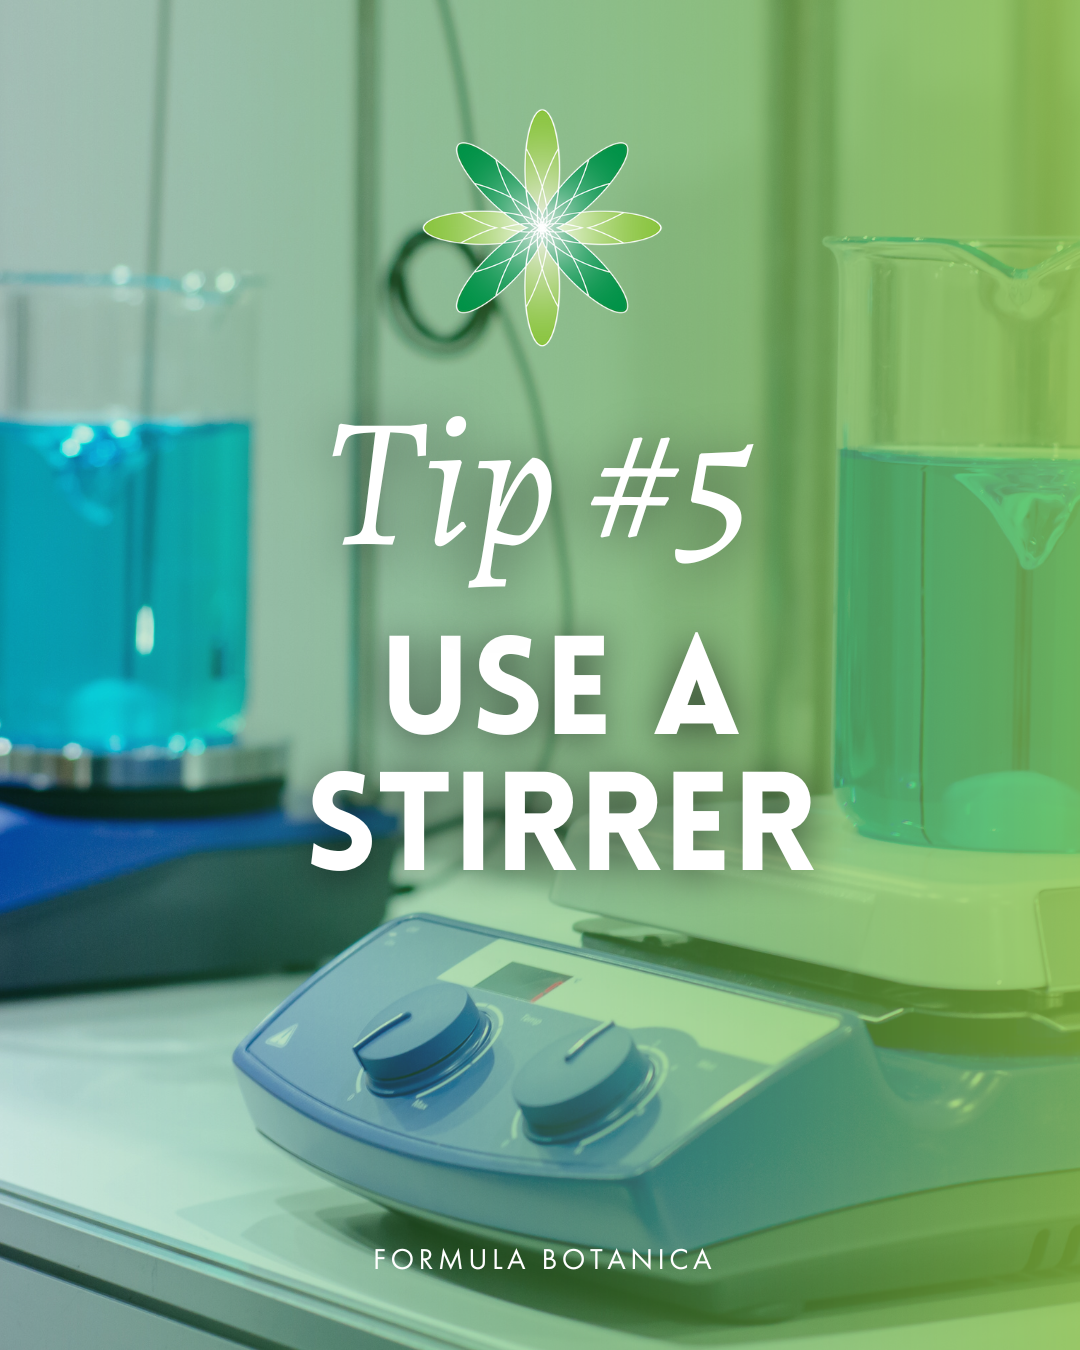
While you definitely don’t need a full lab setup to get great results, using the right equipment (especially something that provides a bit of shear force) can make all the difference. Here are a few home-lab favourites to make smooth gels:
- A mini electric whisk or stick blender works great for dispersing gums and powders. They’re also affordable.
- A silicone spatula is perfect for scraping every last bit of your slurry into your water phase without waste.
- If you’ve got access to a magnetic stirrer, overhead stirrer, or homogeniser, even better! Just make sure your gum isn’t sensitive to high shear, and use these tools carefully to avoid trapping air bubbles.
Even if you’re stirring by hand with a glass rod, spatula or mini whisk, go slow and steady. It’s not about speed – it’s about keeping the motion consistent while the gum hydrates.
Pro tip: Still seeing clumps after trying all the right steps? Don’t forget that not all gums are created equal. Some hydrate more easily than others, and the grade or mesh size can vary between suppliers. If your gum continues to clump no matter what you try, it might be time to experiment with a different gum – or a different supplier.
Bonus: Make a simple hyaluronic acid gel
- Makes: 50g
- Formulation type: Hot-process gel
- Level: Beginner/intermediate
As a special bonus, our Grading Tutor, Viktoriia, has created a simple hyaluronic acid gel serum that you can easily recreate at home in just 5 simple steps, using a magnetic stirrer.
This formula is perfect if you’re looking for a light, hydrating gel that comes together quickly, with no clumps and no fuss.
| Phase | Ingredients | INCI | Weight (g) |
| A | Distilled water | Aqua | 46.95 |
| B | Low molecular weight hyaluronic acid | Sodium Hyaluronate | 0.25 |
| B | High molecular weight hyaluronic acid | Sodium Hyaluronate | 0.25 |
| B | Solagum™ AX | Acacia Senegal Gum (and) Xanthan Gum | 0.05 |
| B | Glycerine | Glycerin | 2.00 |
| C | euxyl™ k 712 | Sodium Benzoate (and) Potassium Sorbate (and) Aqua (Water) | 0.50 |
| Total: 50.00 |
Formulation method:
- Step 1: Heat the water phase
After you’ve cleaned and sanitised your lab space and equipment, weigh your distilled water (you could also use a hydrosol) and gently heat it to around 40°C.
This helps powders dissolve more easily and reduces the risk of clumping.
- Step 2: Prepare your slurry
In a separate beaker, weigh the low molecular weight hyaluronic acid (LMW HA) and high molecular weight hyaluronic acid (HMW HA), the Solagum™ AX and glycerine.
Stir until you have a smooth, uniform slurry with no visible dry patches.
- Step 3: Stir & hydrate
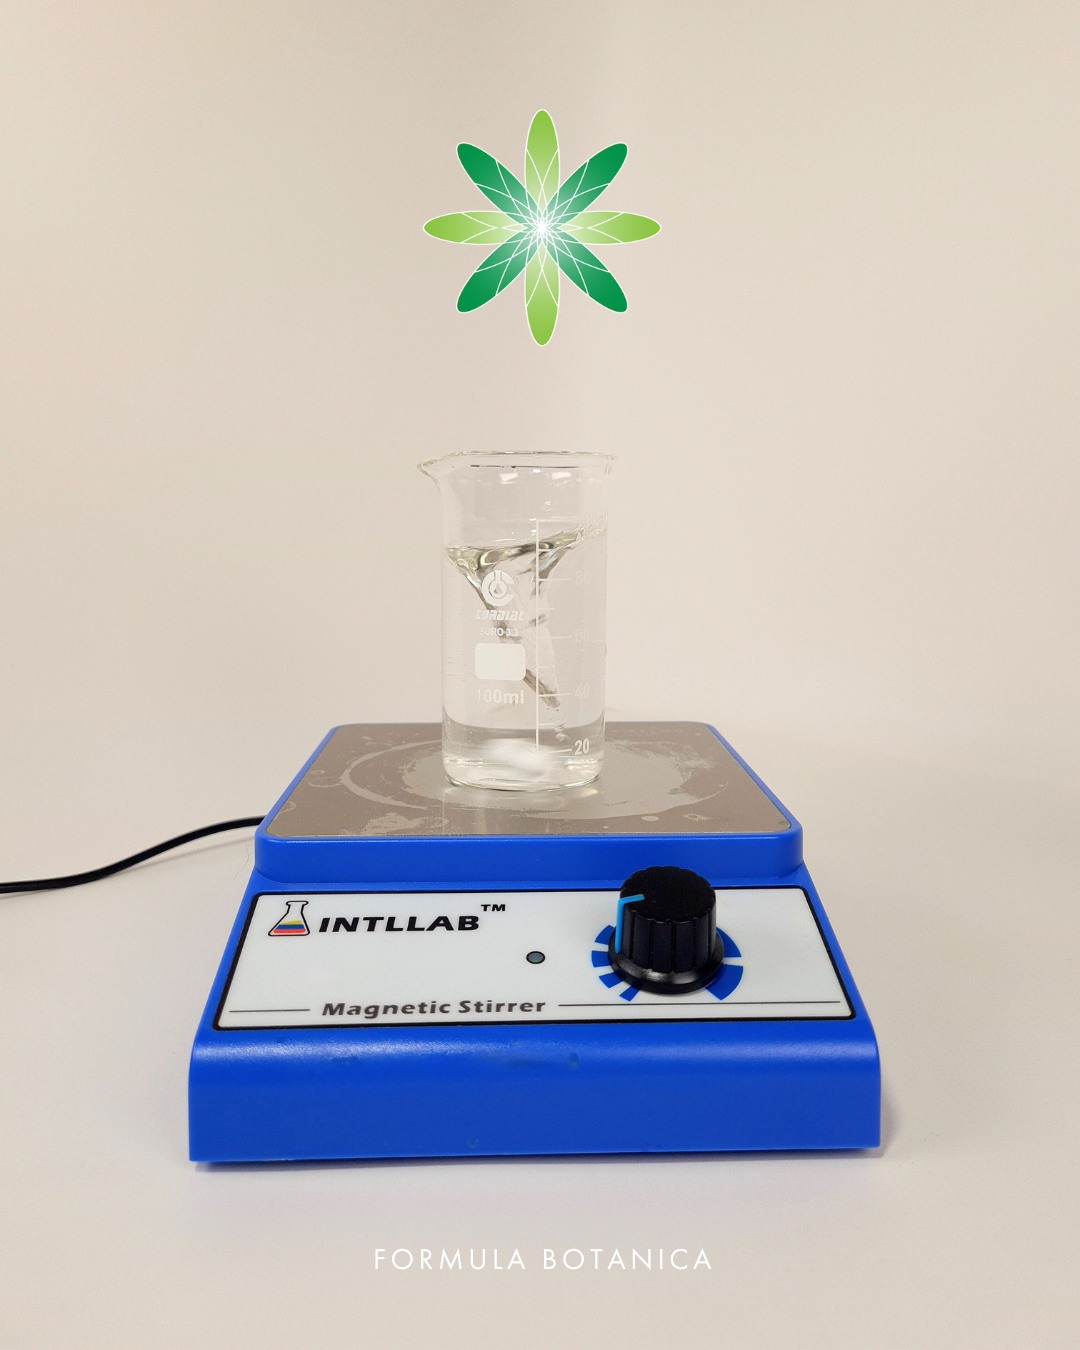
Place your water phase beaker on a magnetic stirrer, add a stir bar, and turn it on to create a gentle vortex. We recommend a good and relatively affordable magnetic stirrer in our Lab equipment library.
- Step 4: Slowly add phase B into phase A
Slowly add phase B into the water while stirring. The blend will start to thicken as the gum and the hyaluronic acid hydrate. This usually takes just a few minutes.
- Step 5: Add the preservative
Once the gel is fully hydrated and smooth, check the pH. Then add your preservative, stir gently, and check the pH again to ensure it’s within the preservative’s range.
Your gel is now ready to be packaged, labelled and used!
Final thoughts
Clumping can feel frustrating, especially when you’ve spent time and care selecting the perfect ingredients and creating your formula. But with a little know-how and the right method, smooth, professional-quality gels are absolutely achievable at home.
Whether you’re formulating a hydrating serum, a soothing gel cleanser, or a botanical hair styling gel, these techniques will help you avoid the most common pitfalls and create beautiful, smooth formulations.
Remember: it’s not just about what you use, but how you use it. And as with all things in formulation, practice and patience go a long way.
Want to take your formulations further? Join our free online mini-training course to learn the essential foundations of organic skincare formulation. Whether you’re a total beginner or already experimenting in your home lab, this free training will give you the confidence and skills to create natural products that truly perform.
FREE TRAINING
Learn how to become an
Organic Skincare Formulator
FREE TRAINING
How to become an
Organic Skincare Entrepreneur
FREE TRAINING
How to become an
Organic Skincare Entrepreneur
Leave us a comment

Ariane is Formula Botanica’s Content Creator and an active member of the student community. She has worked as a professional journalist, blogger, copywriter and editor before joining Formula Botanica full-time in 2024.

