Updated: 06.01.26
If you’ve ever wandered down the skincare aisle, you’ll know just how popular cleansers are and how essential they’ve become in daily routines. Now, imagine being able to make one yourself. Well, you can. And it’s much easier than you think.
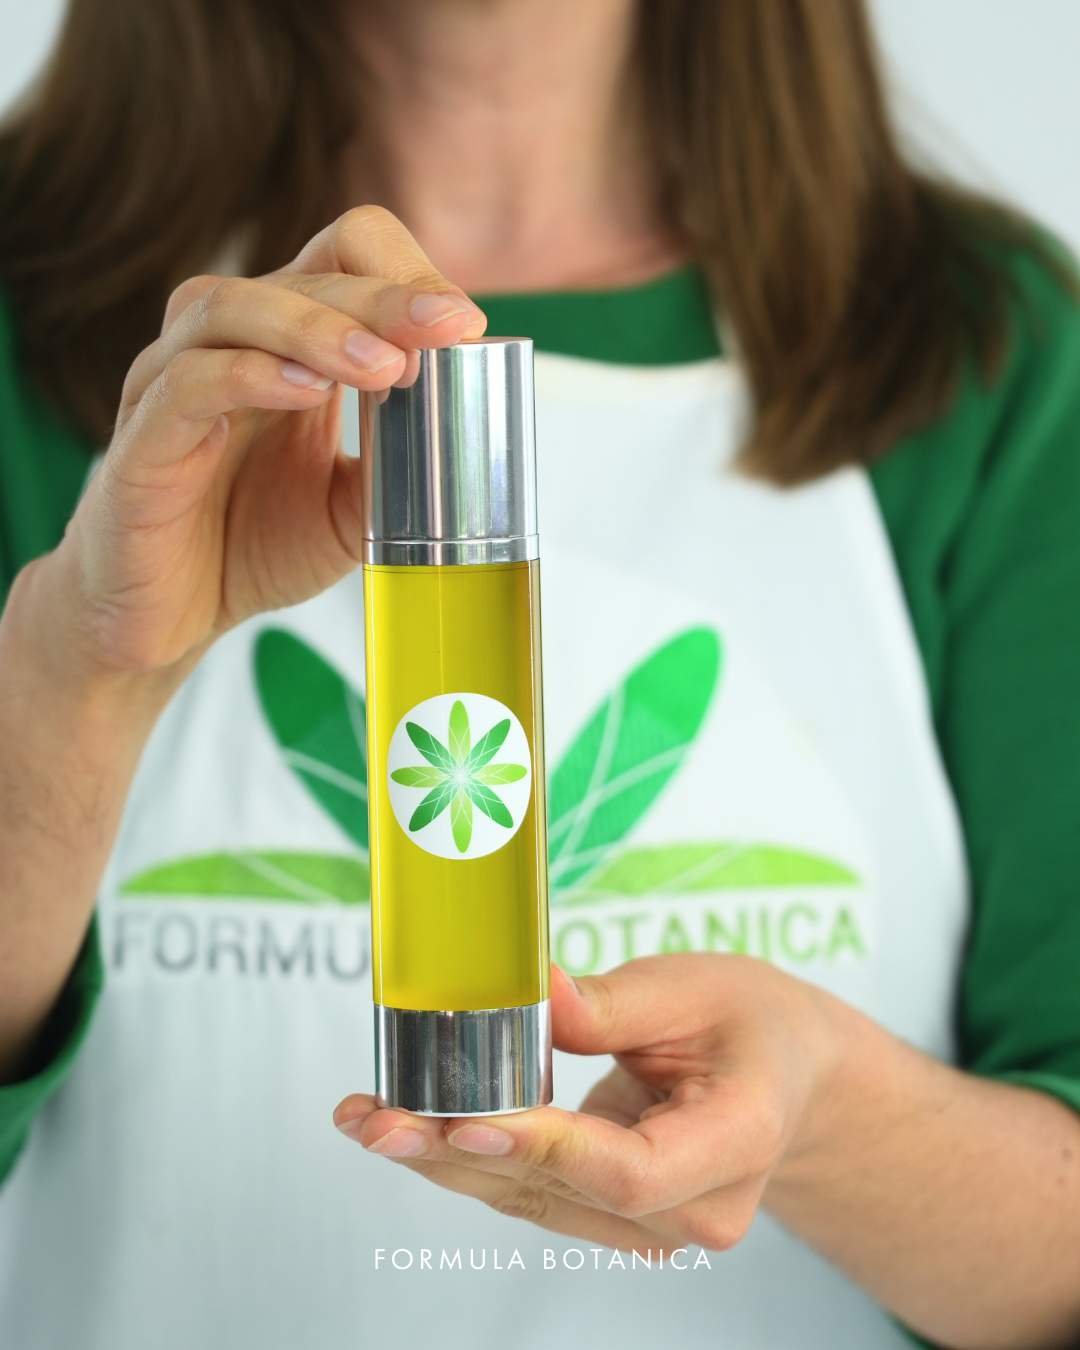
In this post, I’m going to show you how to make a simple yet luxurious nourishing camellia cleansing oil – a professional-grade cleanser you can create at home in just a few simple steps, no fancy equipment needed.
This cleanser features a dreamy blend of camellia, jojoba, strawberry seed, and castor oils, delicately scented with bergamot, lavender, and clary sage. The result is a gentle, ultra-sensorial formula your skin will love.
Whether you’re making this for yourself or dreaming of launching your own skincare brand, this is the perfect place to start.
Why you’ll love this cleanser
This camellia cleansing oil is natural, ultra-sensorial, and incredibly easy to make. Its hero ingredient, camellia oil, has been prized for centuries for its light, elegant feel and was famously used by Geishas to keep their skin smooth and radiant.
Combined with jojoba, strawberry seed, and castor oils, this cleanser nourishes your skin while effectively removing makeup, dirt, and impurities. The texture is featherlight on the skin, yet nourishing enough to dissolve every trace of makeup.
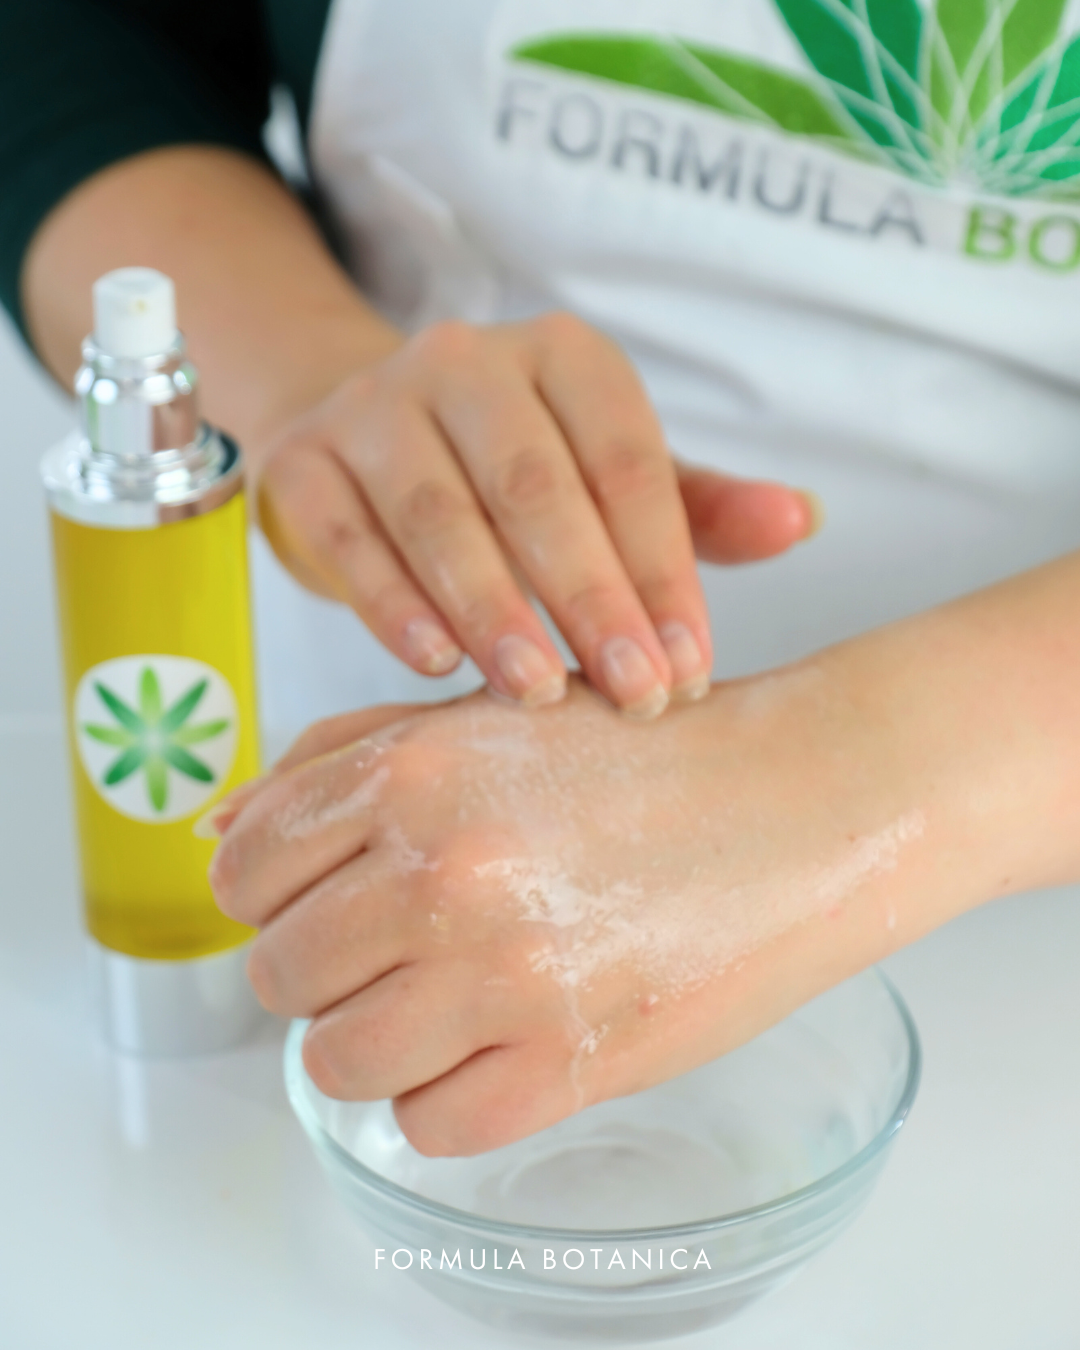
When this cleanser comes into contact with water, it transforms into a silky milk, making rinsing effortless. What makes it truly special is that it cleanses without stripping your skin, leaving it soft, balanced, and comfortable.
How to use this camellia cleansing oil

This cleansing oil works beautifully as a daily cleanser. To use, massage a couple of pumps of the oil onto dry skin, then add a splash of warm water to rinse.
You’ll notice the oil transforming from a clear, glossy texture into a soft, milky emulsion when you add water. This is thanks to Polyglyceryl-4 Oleate, the magic ingredient that allows this transformation (more on that below!).
Follow up with your favourite toner, serum, or moisturiser to complete your routine.
What you’ll need to make this cleansing oil
Here’s everything you’ll need to make this luxurious camellia cleansing oil:
Ingredients
First, let’s take a look at the ingredients you’ll need, and some of their key properties and benefits. You can source all of these from cosmetic ingredient suppliers near you. I’ve also shared a recommended supplier list at the bottom of this post.
To make this camellia cleansing oil, you will need:
1. Jojoba oil
INCI: Simmondsia Chinensis (Jojoba) Seed Oil
First, you’ll need jojoba oil. Technically a liquid wax, jojoba closely mimics the skin’s natural sebum, so it’s well tolerated by the skin.
It’s also very balancing, leaving the skin soft and nourished without feeling greasy. Find out more about jojoba’s benefits below:
2. Camellia oil
INCI: Camellia Oleifera Seed Oil
Next, you’ll need camellia oil. This is the hero ingredient of this cleanser.
Camellia oil is a really special oil with a rich history in Korean and Japanese skincare. It’s packed with antioxidants and feels incredibly lightweight on the skin.
For centuries, people have prized this oil for giving the skin a smooth, elegant feel, which makes it perfect for a nourishing cleanser.
3. Strawberry seed oil
INCI: Fragaria Ananassa (Strawberry) Seed Oil
You’ll also need strawberry seed oil, which is an upcycled ingredient, pressed from seeds left over from the food industry –turning waste into skincare. This lightweight, silky oil also adds a subtle, fresh feel to the cleanser.
Learn more about zero-waste and upcycling below:
Podcast 199: Upcycling and zero waste with Thomas Kerfoot
Is zero-waste beauty the next big trend?
4. Castor oil
INCI: Ricinus Communis (Castor) Seed Oil
The last oil you’ll need is common castor oil. On its own, this oil is quite thick and sticky, but that’s exactly what makes it so brilliant in a cleanser.
Castor oil is also well known for its cleansing power. It helps dissolve impurities and lift them from the skin, ensuring your cleanser is really effective while still being gentle. Learn more about castor oil and its benefits in this post:
5. Vitamin E
INCI: Tocopherol

Now, let’s move on to botanical extracts. You’ll need vitamin E, which is a powerful antioxidant that helps extend the shelf life of your cleanser by protecting the oils from oxidising (basically, stopping them from going rancid), and it also helps to support the skin barrier.
Find out more about antioxidants below:
6. Essential oils
INCI: Citrus Aurantium Bergamia (Bergamot) Peel Oil | Lavandula Angustifolia Oil | Salvia Sclarea Oil
You’ll also need the following essential oils: bergamot, lavender, and clary sage.
Together, they create a beautifully layered, spa-like scent. Bergamot adds a fresh citrus note, lavender feels calming and soothing, and clary sage adds a soft herbal depth.
Make sure you follow the listed measurements of this post, as essential oils can irritate if used incorrectly.
7. Polyglyceryl-4 Oleate
INCI: Polyglyceryl-4 Oleate
Finally, you’ll need Polyglyceryl-4 Oleate, also known as Durosoft® PG4-O.
This is the ingredient that gives this cleanser its signature transforming texture.
Don’t be put off by its chemically-sounding name – it’s actually a very gentle, plant-derived emulsifier. Durosoft® PG4-O is made from vegetable oils and glycerine, and it works by allowing oil and water to mix.
When your cleanser comes into contact with water, it transforms from a clear oil into a soft, silky milk. This makes it incredibly effective at lifting away dirt, sunscreen and makeup, while still rinsing cleanly from the skin without leaving behind any greasy or oily residue.
Equipment
Next, you’ll also need a few simple pieces of equipment. Don’t worry: you don’t need anything fancy. These are all simple, affordable tools that you might already have at home or can easily pick up.
You can also find everything on here in our Amazon storefront. Here’s what you’ll need:
- A set of scales for accurate measurements
- Two glass beakers or any clean cups or jars
- A glass stirring rod or a spoon for mixing
- Pipettes to precisely add your ingredients (or just carefully pour and weigh your ingredients if you don’t have any)
- Gloves and an apron to help keep you clean and safe
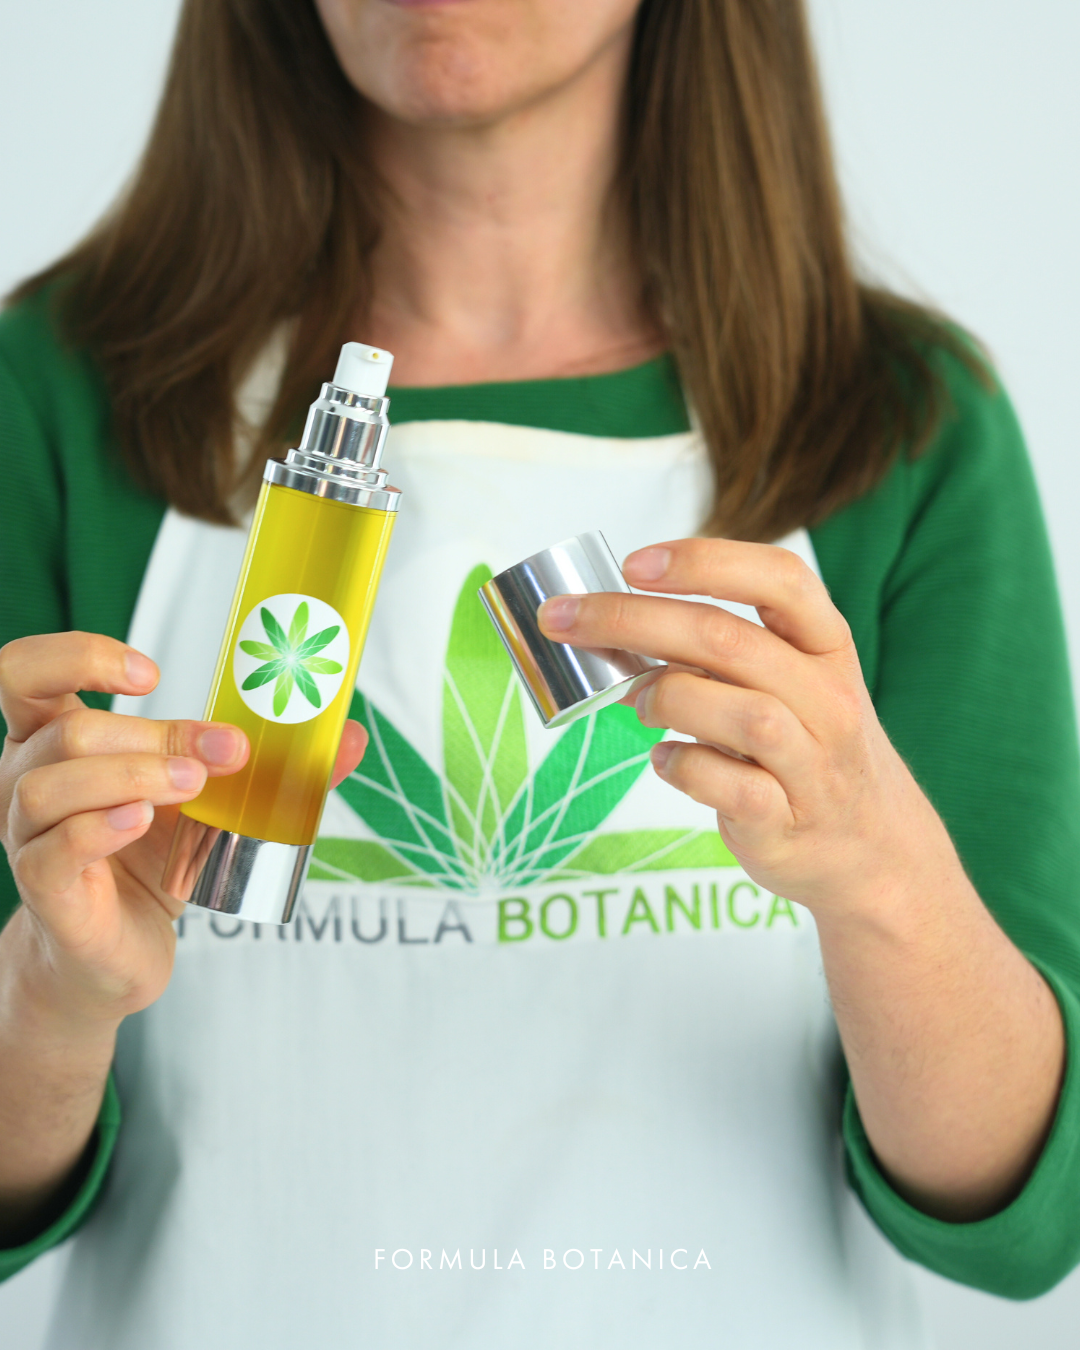
- A clean pump bottle to package your finished cleanser
You’ll also need to clean your workspace with hot soap and water, and sanitise it with 70% isopropyl alcohol or ethanol, as well as your equipment, before you start.
How to make a nourishing camellia cleansing oil

- Makes: 100g
- Level: Beginner-friendly
| Phase | Ingredients | INCI | Weight (g) |
| A | Jojoba oil | Simmondsia Chinensis (Jojoba) Seed Oil | 35.00 |
| A | Camellia seed oil | Camellia Oleifera Seed Oil | 30.00 |
| A | Strawberry seed oil | Fragaria Ananassa (Strawberry) Seed Oil | 15.00 |
| A | Castor oil | Ricinus Communis (Castor) Seed Oil | 3.50 |
| A | Vitamin E | Tocopherol | 0.30 |
| A | Bergamot essential oil | Citrus Aurantium Bergamia (Bergamot) Peel Oil | 0.60 |
| A | Lavender essential oil | Lavandula Angustifolia Oil | 0.40 |
| A | Clary sage essential oil | Salvia Sclarea Oil | 0.20 |
| B | Durosoft® PG4-O | Polyglyceryl-4 Oleate | 15.00 |
| Total: 100.00 |
Step-by-step method:
Here’s how to make 100 grams of this camellia cleansing oil, step-by-step:
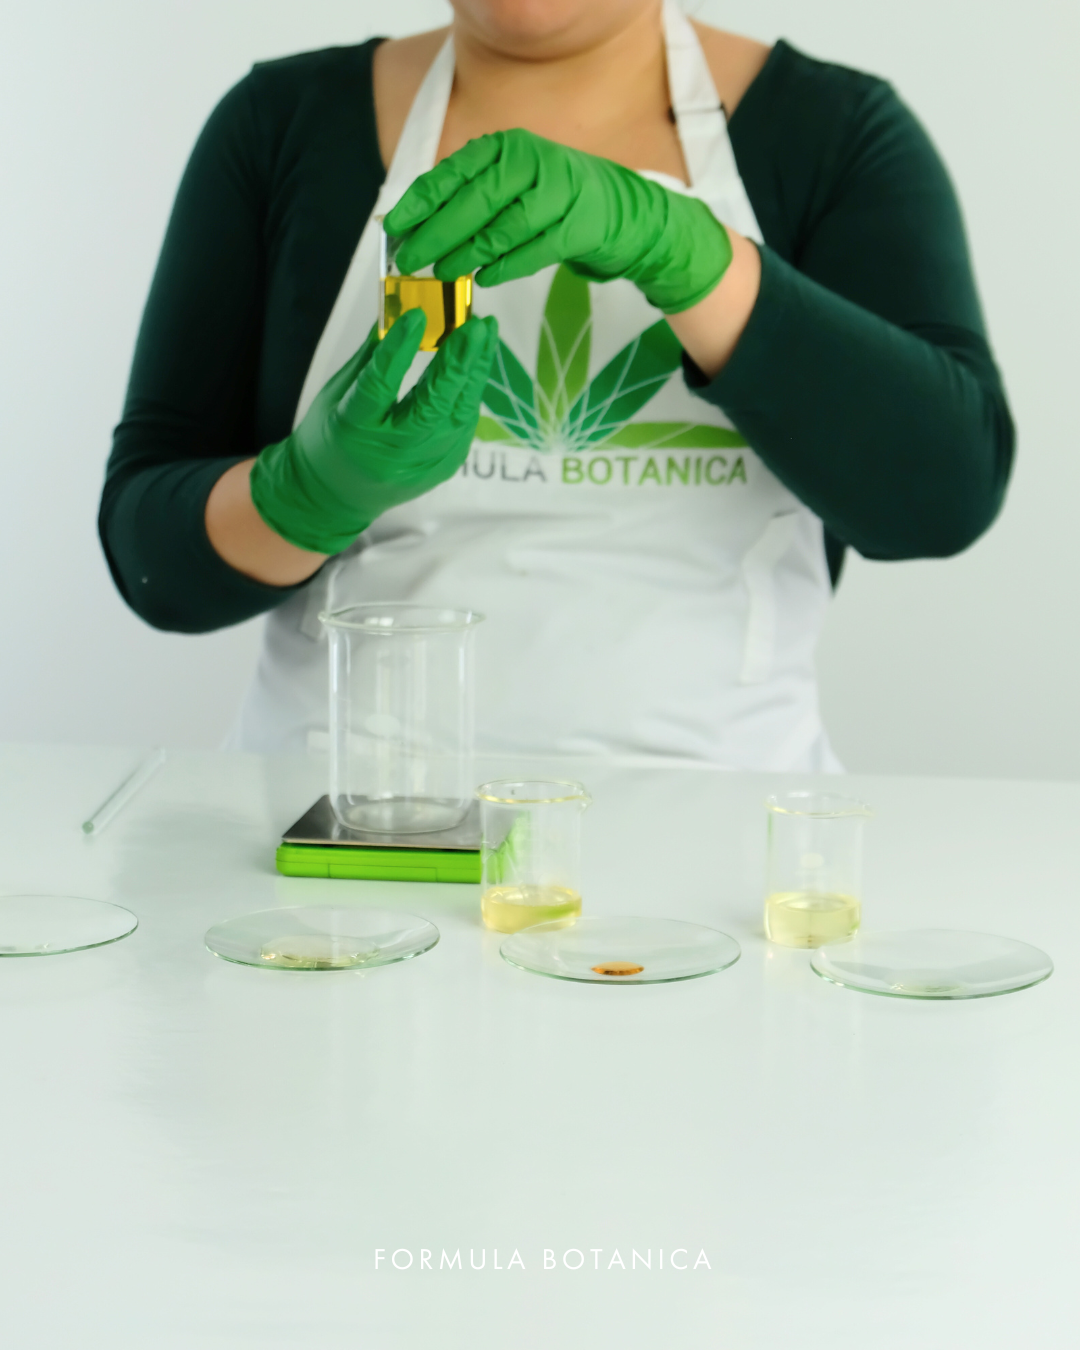
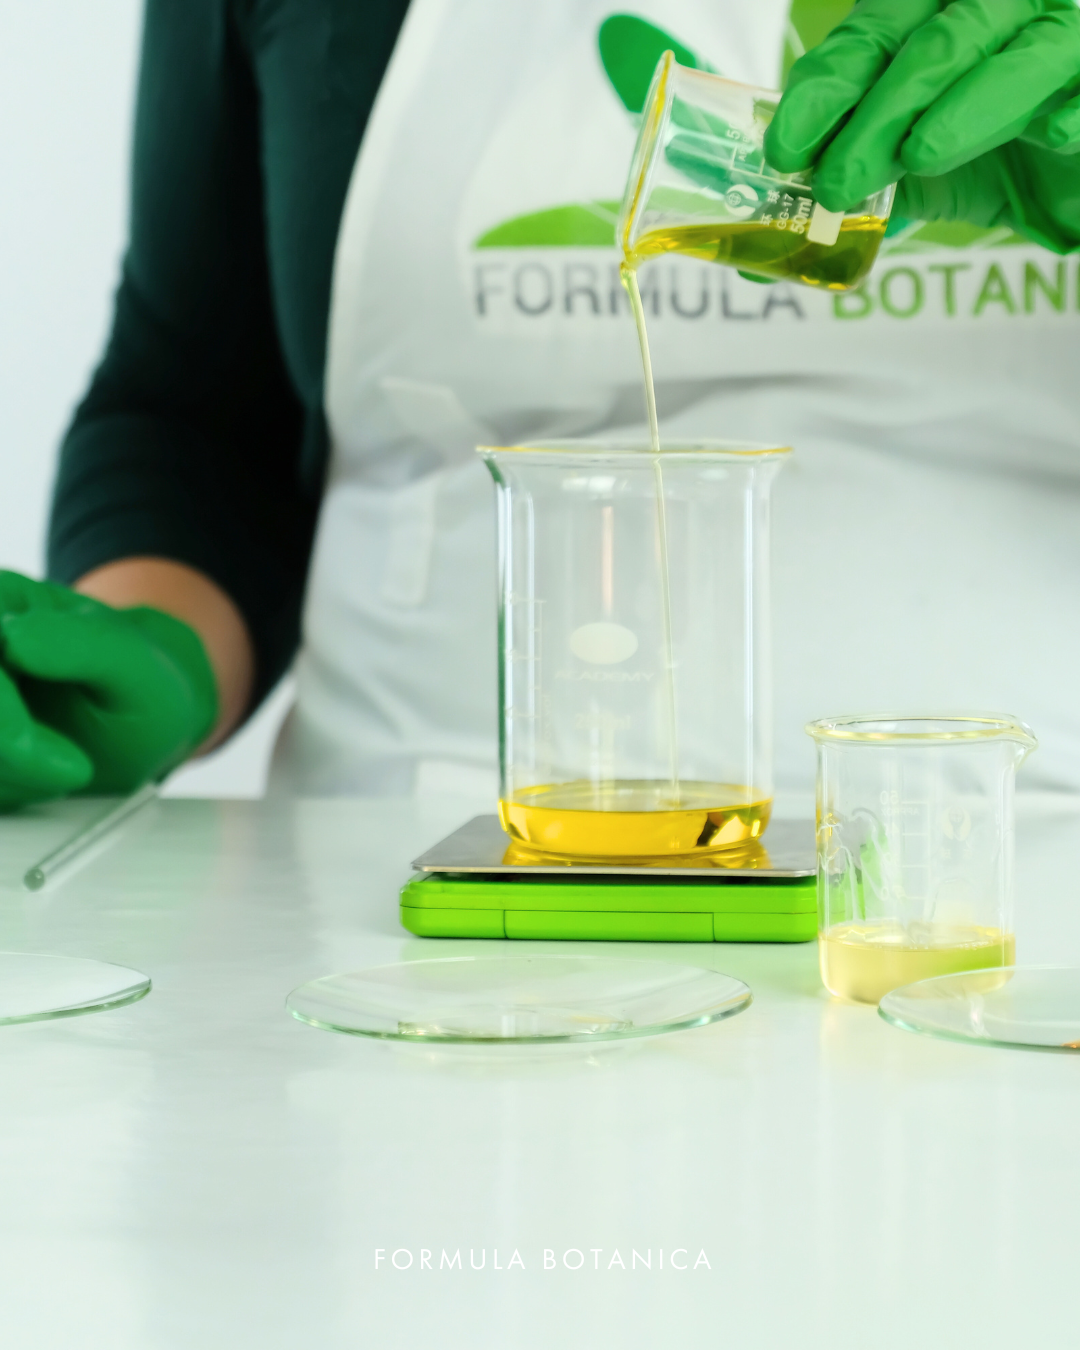
- Step 1: Weigh your botanical oils
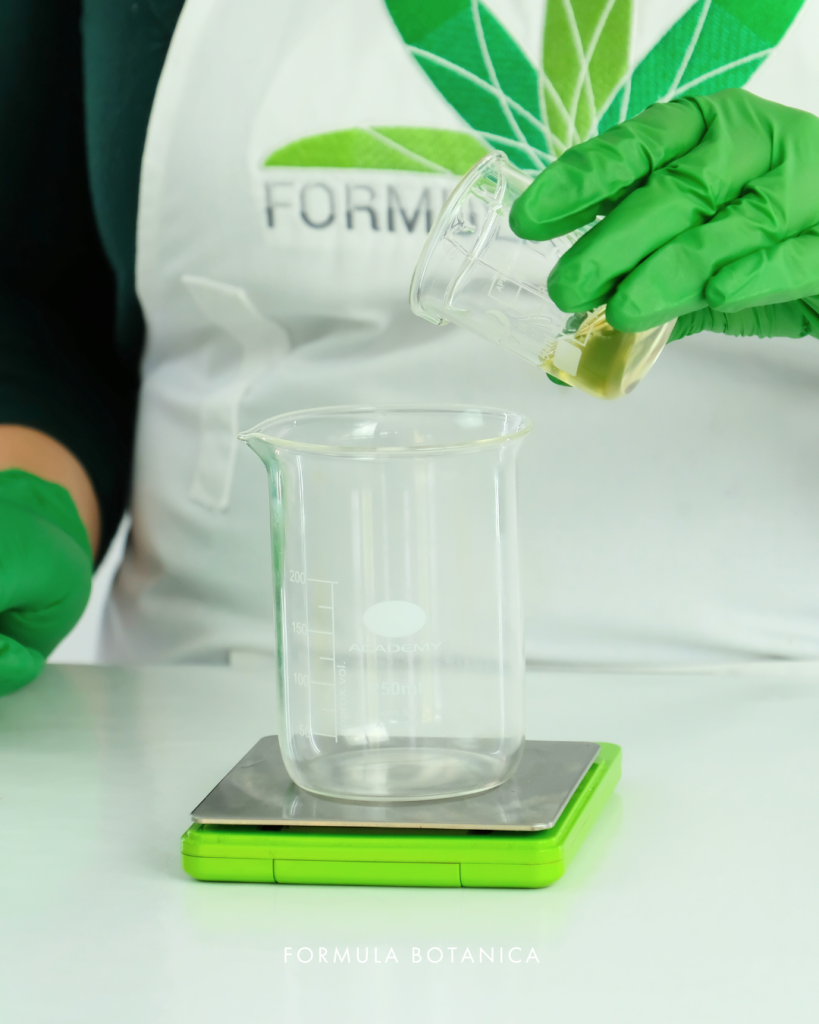
Start by weighing your botanical oils into a beaker or bowl, pressing the ‘tare’ button after each addition to reset the scale.
You’ll need 35 grams of jojoba oil, 30 grams of camellia oil, 15 grams of strawberry seed oil, and 3.5 grams of castor oil.
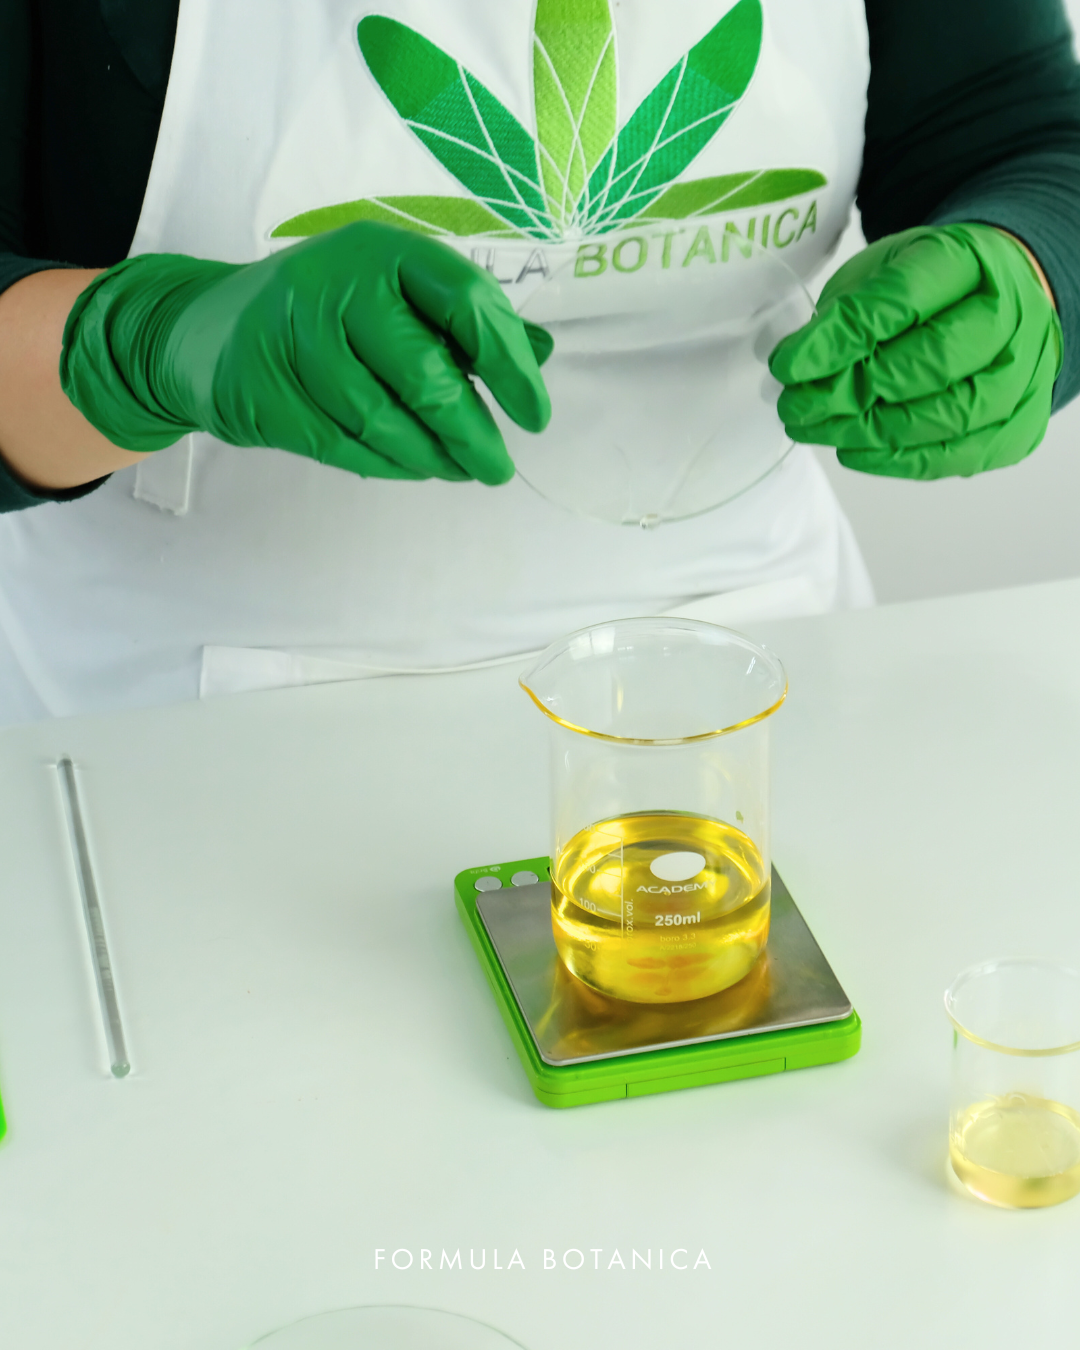
- Step 2: Add the vitamin E
Next, add 0.3 grams of vitamin E to your beaker or bowl and mix everything together using a glass stirring rod or a spoon.
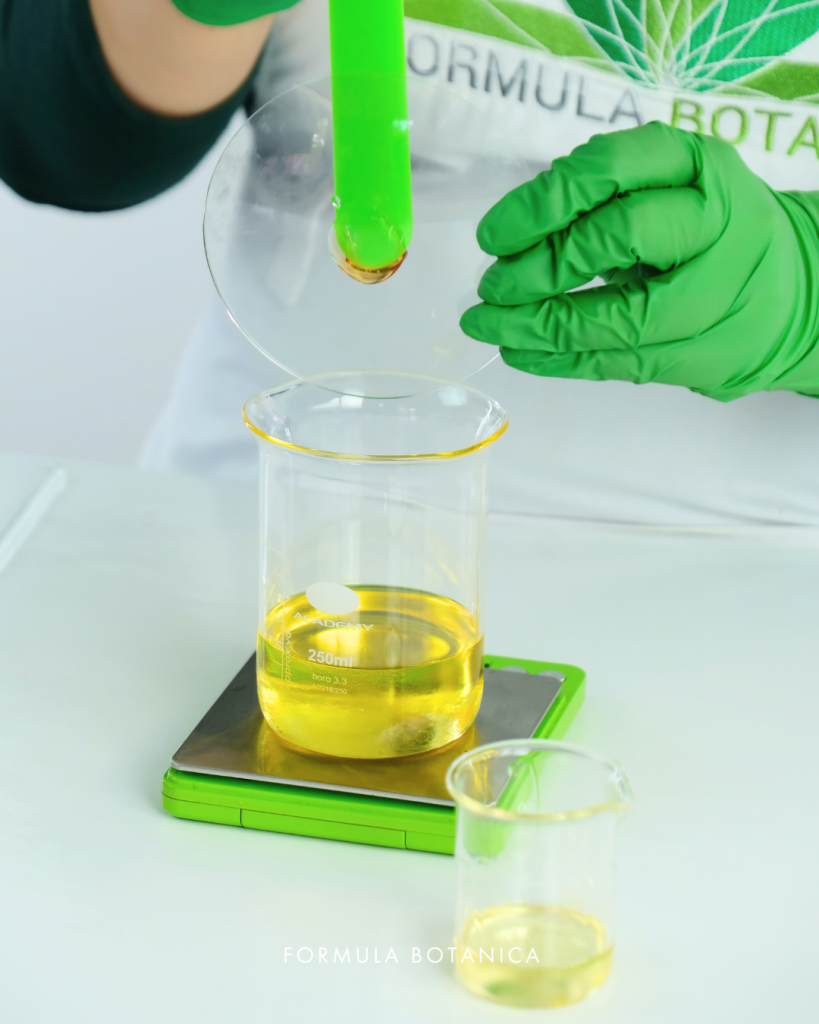
- Step 3: Add your essential oils
Next, add your essential oils to the mixture. That’s 0.6 grams of bergamot essential oil, 0.4 grams of lavender essential oil, and 0.2 grams of clary sage essential oil.
Give everything a gentle but thorough stir.
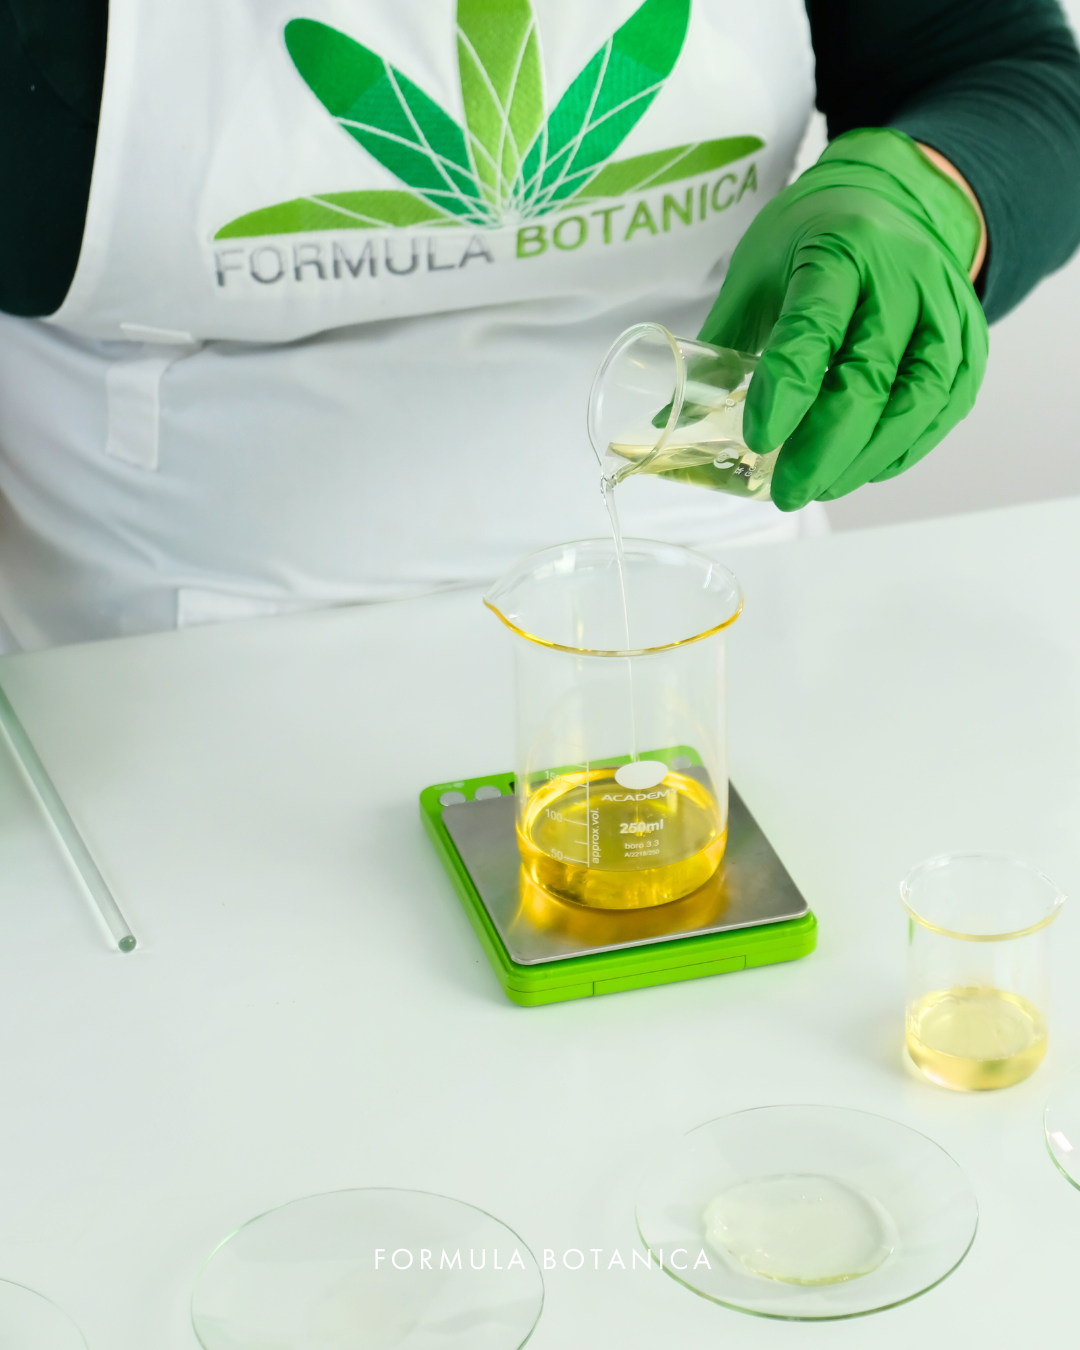
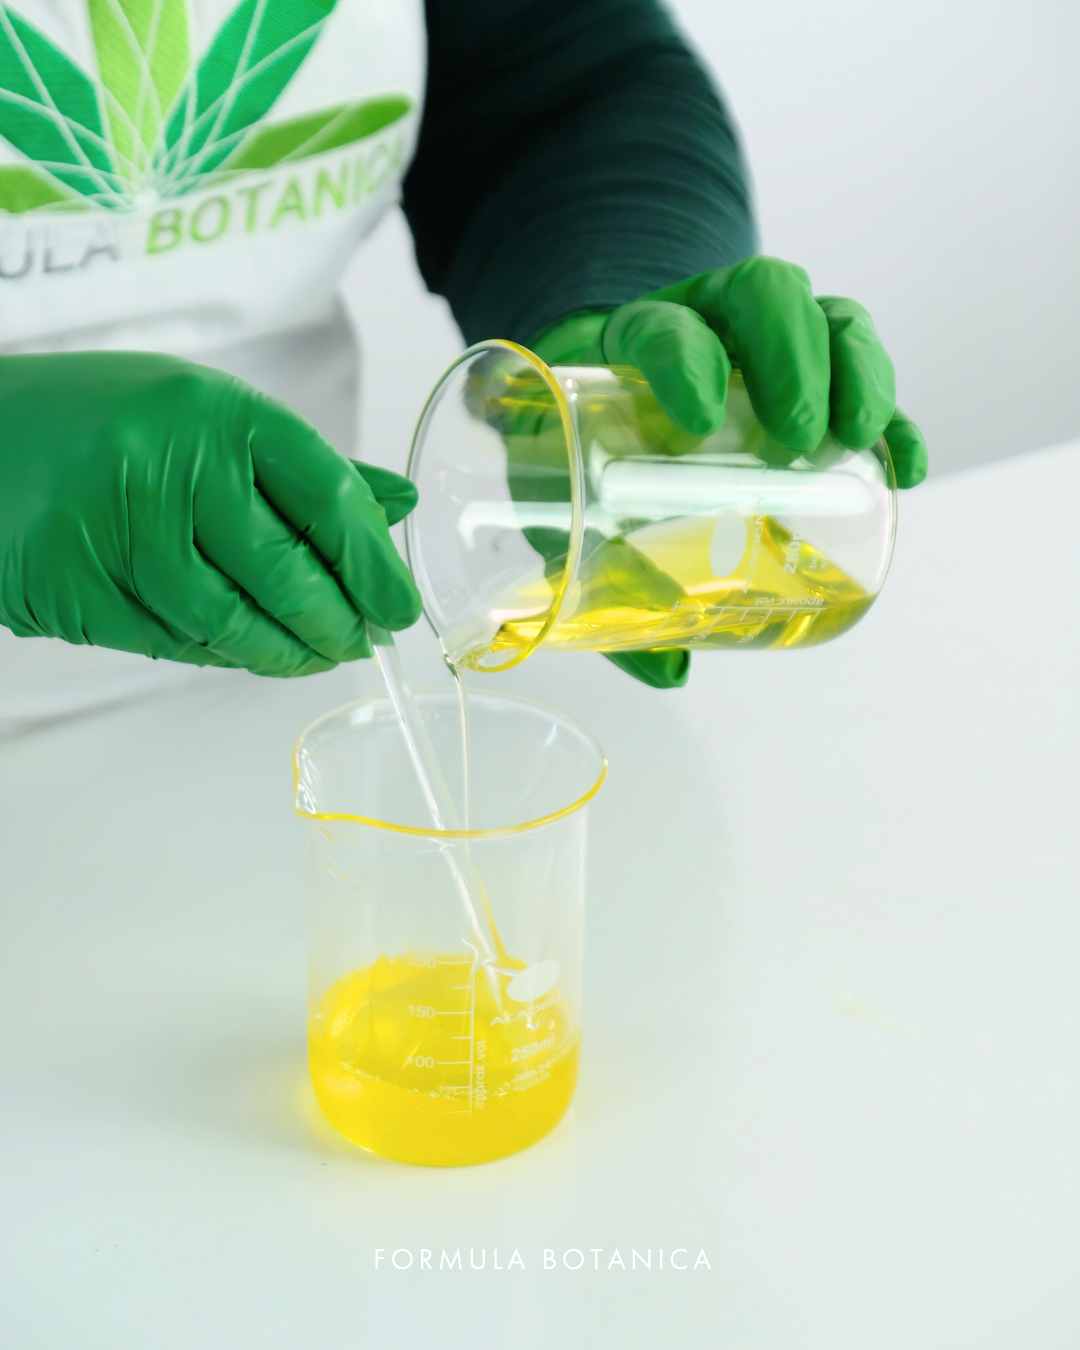
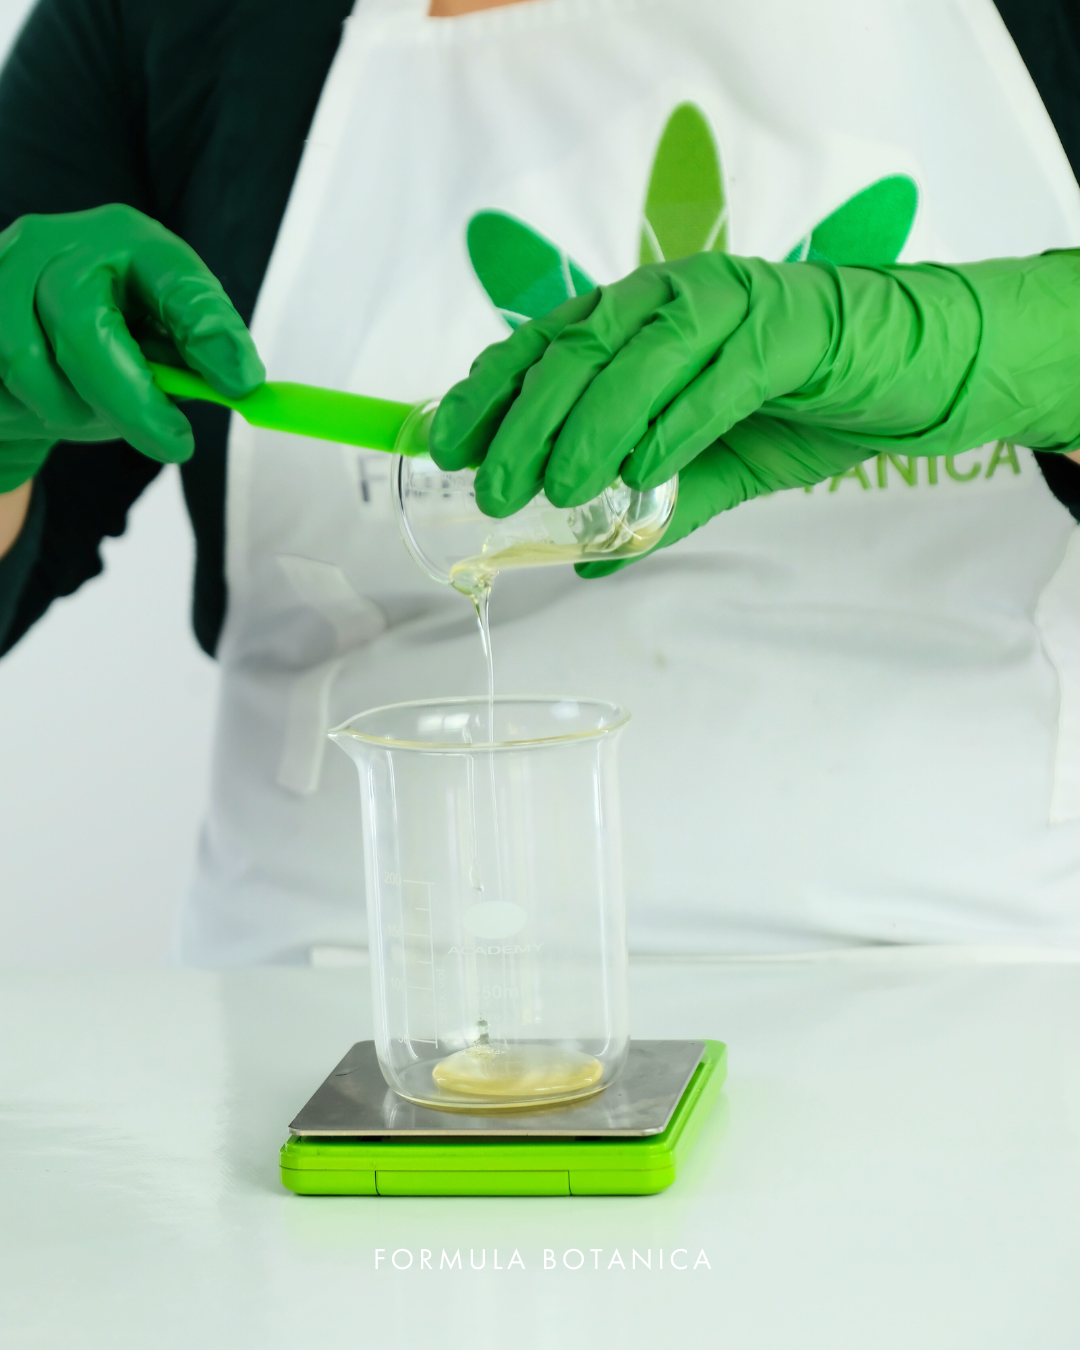
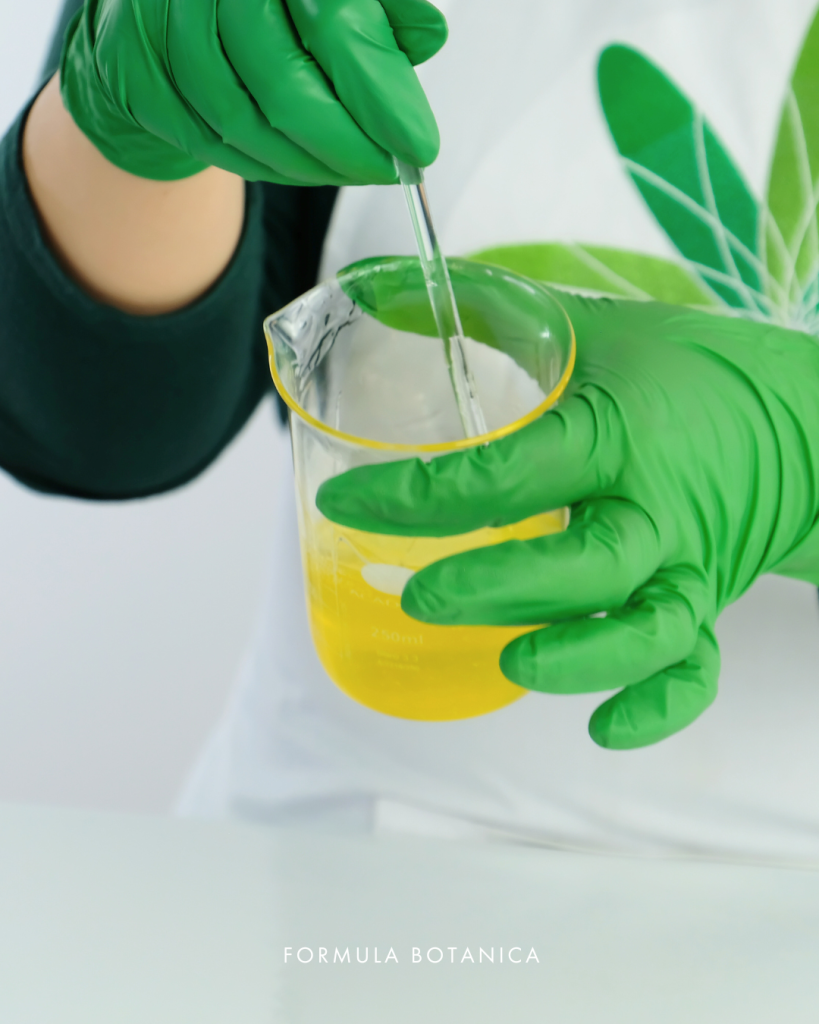
- Step 4: Weigh the Polyglyceryl-4 Oleate & combine

In a second beaker or bowl, weigh out 15 grams of Polyglyceryl-4 Oleate.
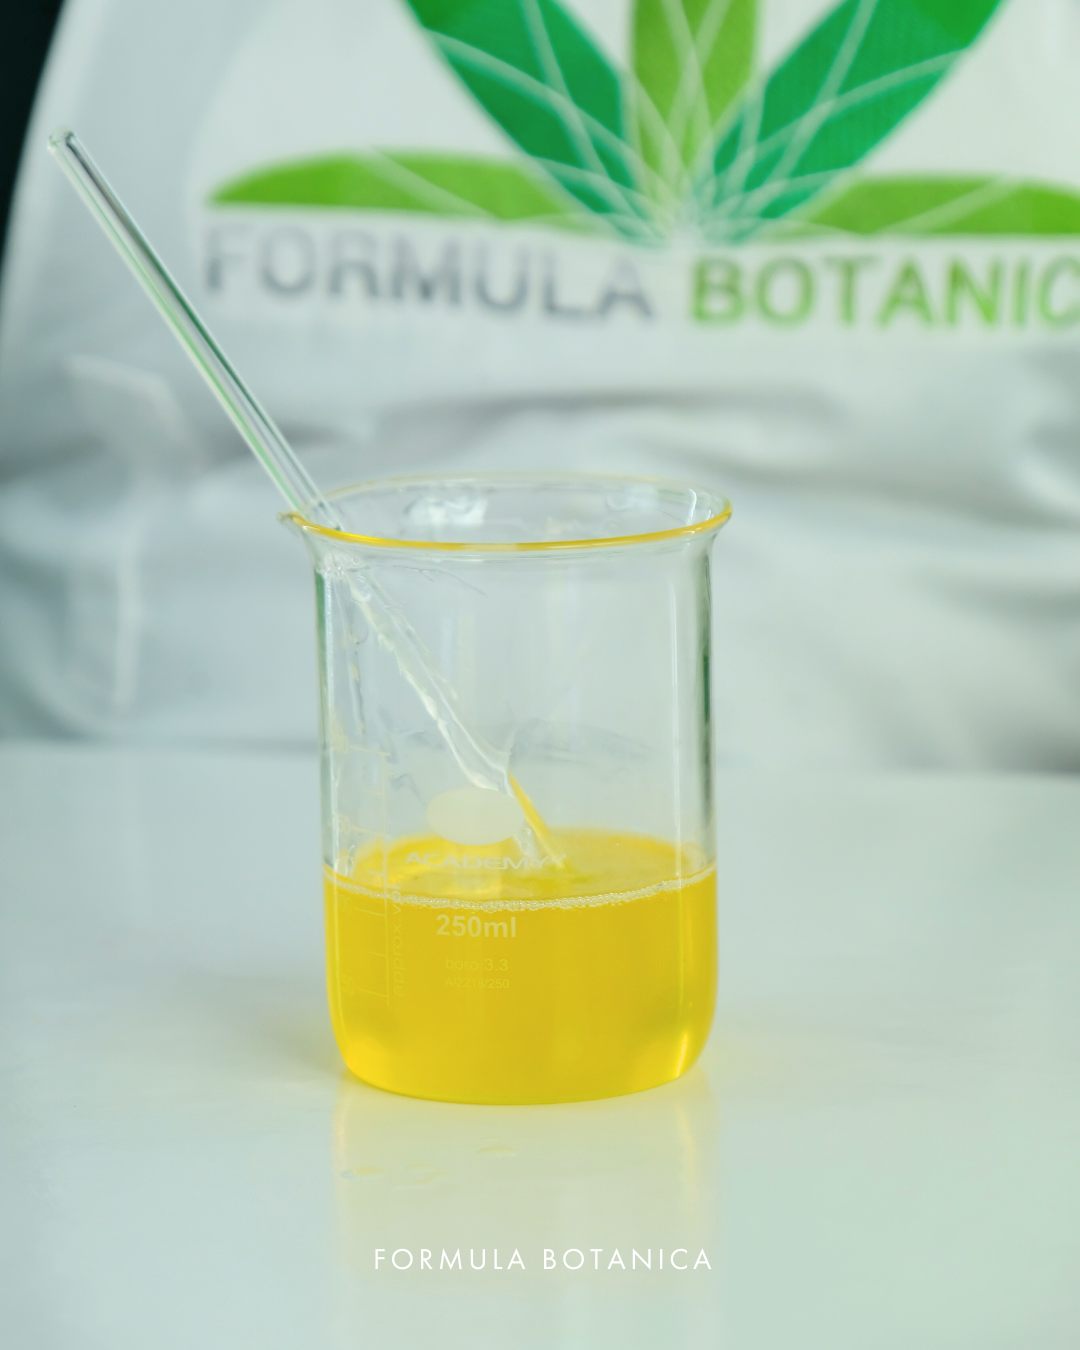
Slowly pour the oil blend from your first beaker into the second beaker containing the Polyglyceryl-4 Oleate, stirring continuously as you pour. This slow, careful mixing helps the emulsifier bind perfectly with the oils, creating a beautiful, clear formula that will magically turn milky when it comes into contact with water.
- Step 5: Package & label

All that’s left to do is package your cleanser.
Pour your finished cleansing oil into a clean pump bottle and label it with the name and the date. Your camellia cleansing oil is now ready to use!
If you’d like to download the full ingredient list, precise measurements, and full method for this cleansing oil, you can access a free PDF version here.
Final thoughts + Become a skincare formulator
I hope you enjoyed making and using this camellia cleansing oil as much as I did!
This cleanser is proof that anyone can create professional-grade skincare at home. It’s also fully customisable, meaning you can swap in different botanicals or essential oils to make it your own – a skill you can learn at Formula Botanica, the world’s leading online organic cosmetic formulation school.
Our free training course is the perfect starting point, as it teaches you how to make your own tailored skincare formulations from scratch with no prior knowledge or experience needed.
Register now to start your journey as a professional skincare formulator!
Suggested suppliers
Below is a list of trusted suppliers you can use to source the ingredients to make this camellia cleansing oil:
INKY Ingredients (UK)
Aroma-Zone (EU)
Aromantic (UK)
Alexmo Cosmetics (EU)
Manske (EU)
The Soap Kitchen (UK)
Ellemental (EU)
Lotioncrafter (USA)
Essential Labs (USA)
Go Native NZ (New Zealand)
Naturally Balmy (UK)
O&3 – The Oil Family (UK/EU)
Soap & More (Canada)
Handymade (EU)
Formulator Sample Shop (USA)
FREE TRAINING
Learn how to become an
Organic Skincare Formulator
FREE TRAINING
How to become an
Organic Skincare Entrepreneur
FREE TRAINING
How to become an
Organic Skincare Entrepreneur

Timi was a key member of the Formula Botanica team from 2015 to 2020; first as our Education Manager and then as Head of Formulation & Research. You can find out more about the Formula Botanica team here.


